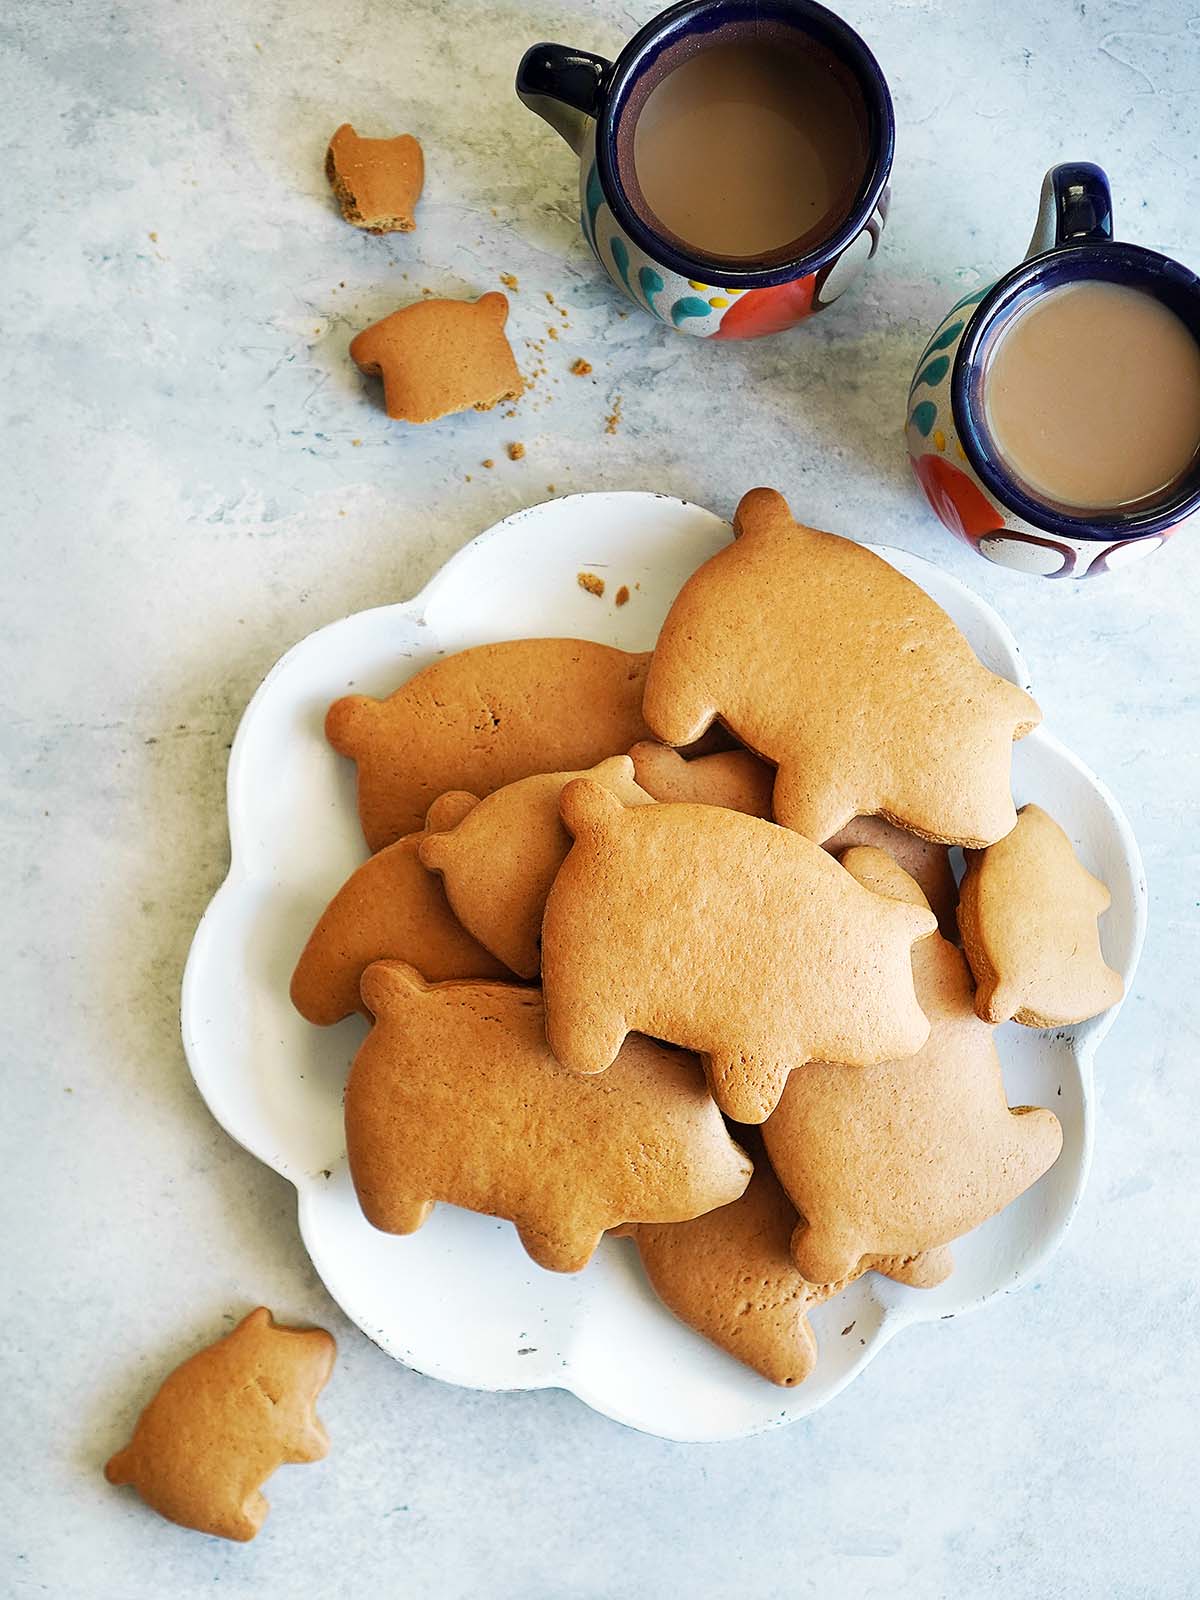
These Marranitos treat melt in your mouth with warm spices and rich piloncillo flavor. They’re chewy, slightly crispy around the edges, and just as easy to make as they are to enjoy.

🗒️ In This Post
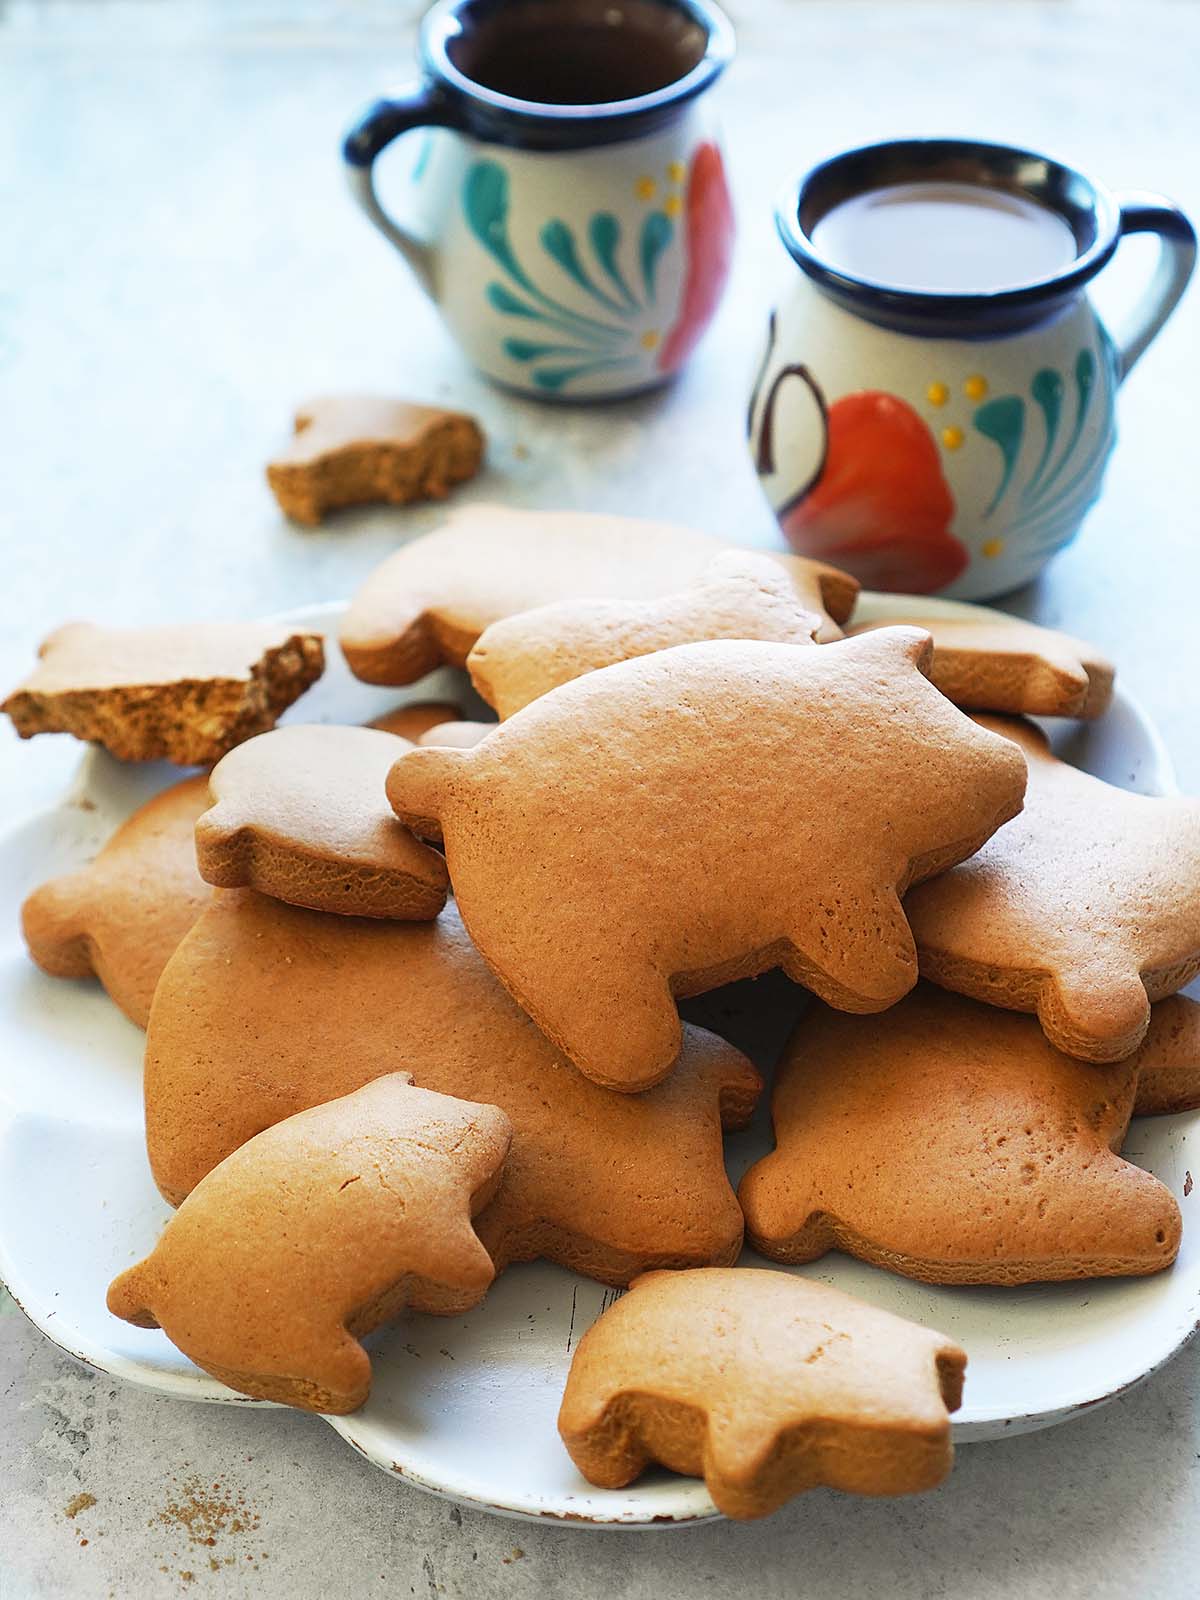
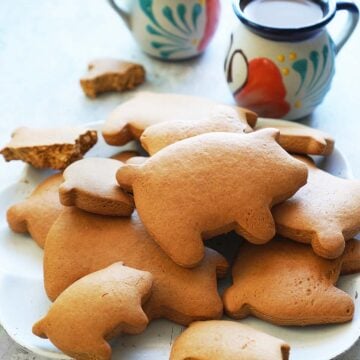
Marranitos (Mexican Piggy Cookies)

Marranitos – also known as puerquitos, cochinitos, or cerditos – are adorable pig-shaped Mexican cookies that have a soft, cake-like texture and a rich molasses-like flavor
These treats are a type of Mexican pan dulce (sweet bread) commonly found in panaderías (bakeries) all over Mexico. They’re often called Mexican gingerbread cookies or Mexican piggy cookies because of their warm spices and brown sugar sweetness. Traditional marranitos get their distinctive flavor from piloncillo, an unrefined cane sugar, plus a touch of cinnamon. The result is a mildly spiced, not-too-sweet cookie that’s perfect for dunking in coffee or milk.
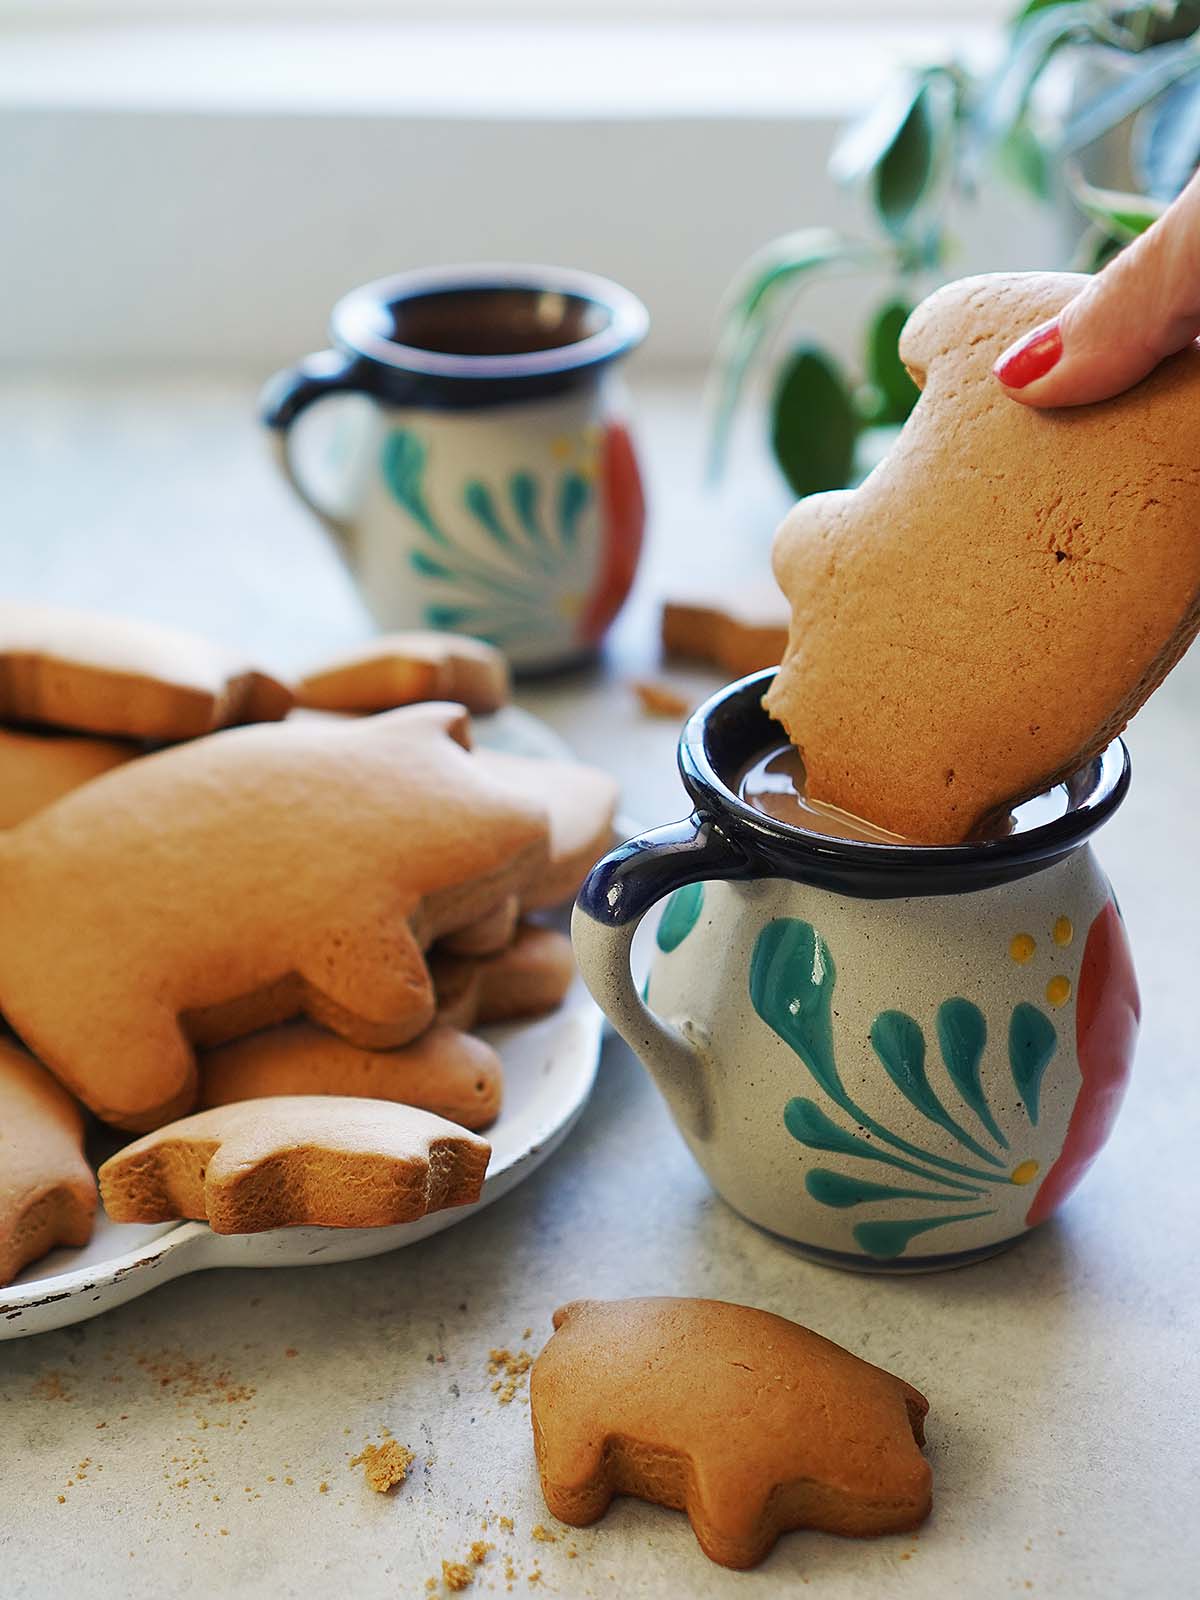
Growing up, my dad used to take us to the bookstore then a local panadería every week. I’d always grab the marranito – I loved dunking that little piggy cookie into my cup of hot chocolate (or café con leche) and nibbling the softened, sweet bread. Those moments are some of my sweetest childhood memories! ❤️
🩷 xoxo, Ana
**This post was originally published on Nov 2021. The recipe has been re-tested and the post has been updated to be more helpful.
Ingredients
Homemade Marranitos may look intimidating to make, but the ingredients are actually fairly simple. To make about 14 Marranitos you’ll need:

**A full ingredient list with exact amounts can be found in the recipe card below.**
How To Make Marranitos (step by step)
This recipe is so simple and don’t be intimidated by kneading the dough by hand. You’ll delight anyone you serve them to!
Make the dough:

- In a large bowl, whisk together the flour, salt, baking soda, cinnamon, and ground ginger. Set aside.
2. In a separate large bowl, add the shaved piloncillo (or dark brown sugar), molasses, 1 egg, evaporated milk, vanilla extract. Using a spatula or your hands, mix until all ingredients are incorporated.
3. Gradually add the dry ingredients to the wet mixture. Mix with a spatula or your hands until a dough starts to form. If the dough is be a bit sticky—add a little extra flour (a tablespoon at a time) until it’s soft but manageable.

Note: the dough will be a little sticky due to the molasses but it should not leave any residue on your hands when handling it.

4. Shape the dough into a flat square disk, wrap in plastic wrap, and refrigerate the dough for at least 2 hours.
Bake:
Preheat your oven to 350ºF (175ºC) and line 2 baking sheets with parchment paper.

Lightly flour your work surface, place the dough on your surface then sprinkle a little more flour on top of the dough. Roll out the dough to about ¼ to ⅓ of an inch.

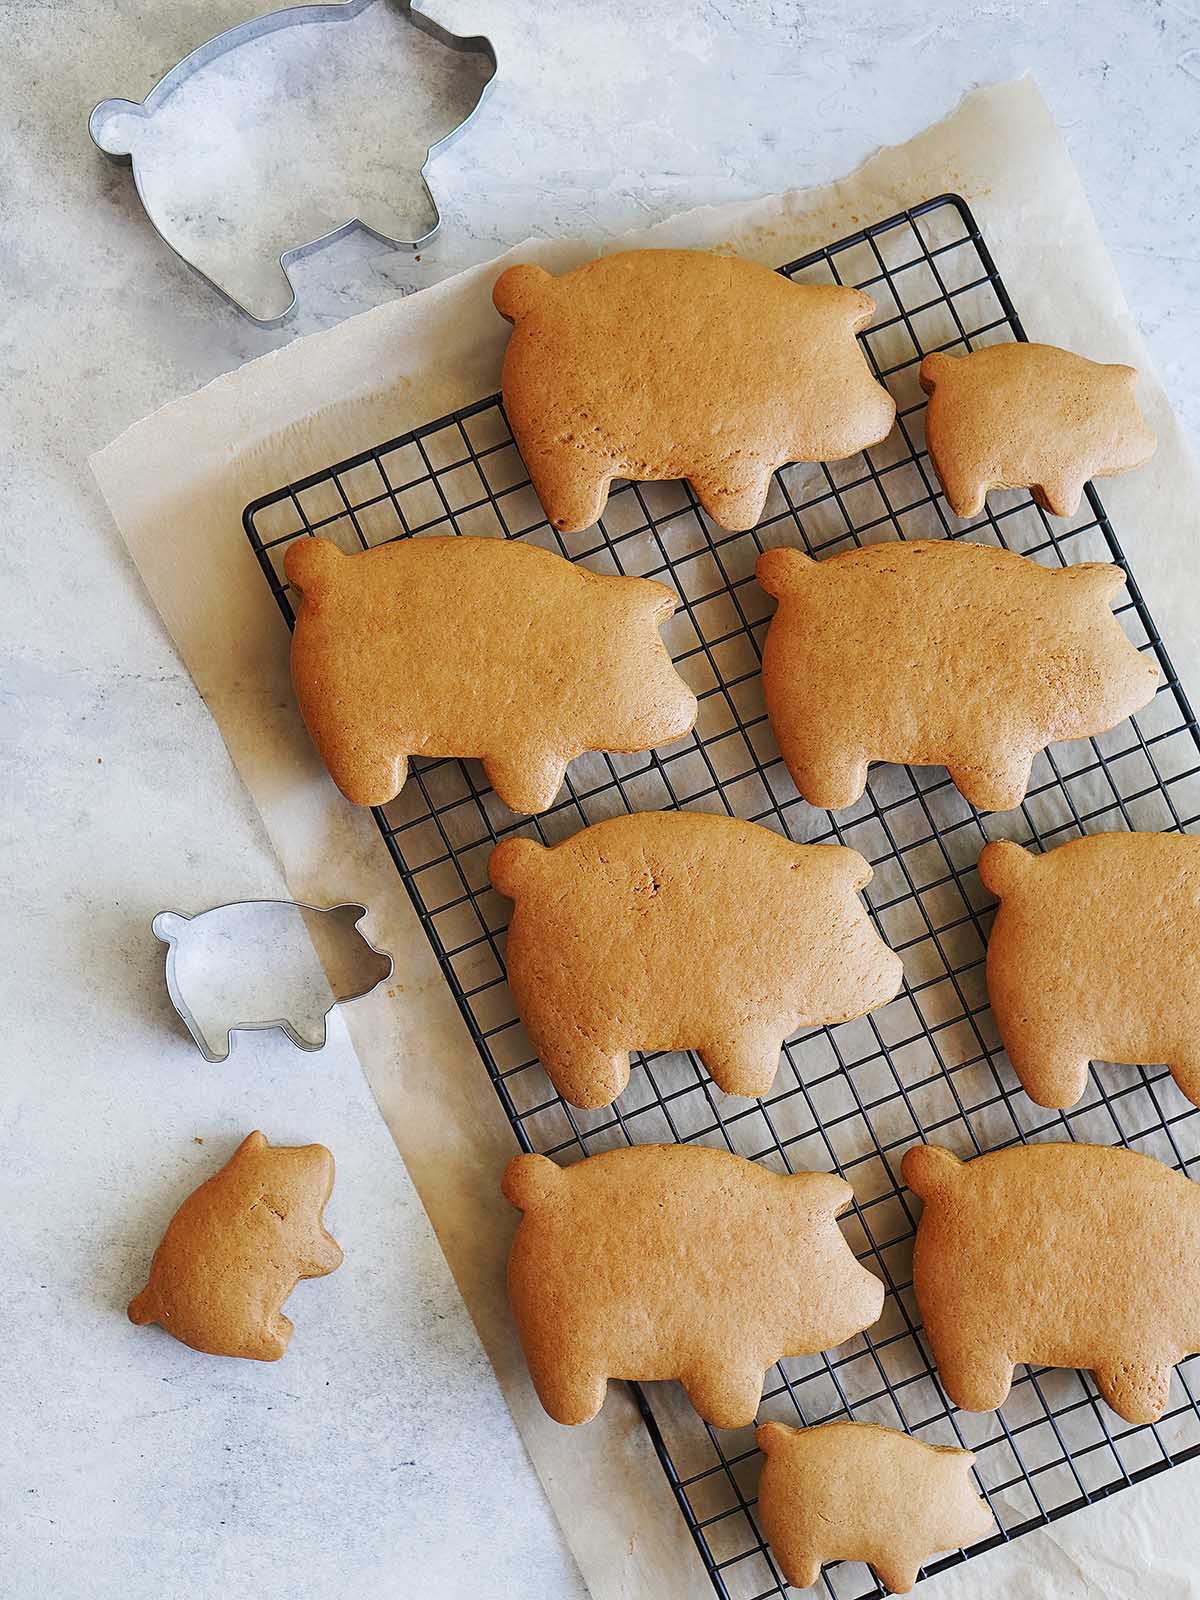
Use a pig-shaped cookie cutter (around 5 to 6 inches) to cut out the cookies. Place them on the baking sheets, leaving a little space in between. Bring together the scraps, re-roll the dough and cut out more cookies.

Beat an egg in a small bowl. Lightly brush the tops of the cookies with the egg wash to give them a nice shine.
- Bake for 12 to 15 minutes, or until the edges are set and the tops look slightly firm. They should still feel soft in the center—they’ll continue to set as they cool.
- Cool: Let the cookies cool on the baking sheet for 5 minutes, then transfer to a wire rack to cool completely.
How do you know when the Marranitos are baked?
They take around 12 minutes to bake but if you want them more crispy like a cookie, bake for 15 minutes. But like anything baked, be sure to keep your eye on them starting at the 10 minute mark since it all depends how your oven works.
They are ready to come out of the oven when they start to turn golden brown at the edges. The middle of the bread will look soft with some cracks.
Notes
- If the mold sticks to the dough, dip it into flour to coat it lightly.
- If you’re kneading by hand, add about 1 to 2 tablespoons more milk as it may become drier. When knead with a mixer, less liquid is needed.
- Brushing the pigs with eggs gives that “barnish” to the bread.
- The dough’s texture is like a paste and not like a cookie dough.
- Bread is ready when you touch it in the middle and it bounces back. Don’t leave it in the oven too long as it will become dry and more crispy.
Special Tools You’ll Need
- Rolling pin.
- Pig Cookie Cutter – If you can’t find a pig cookie cutter, you can use whatever you have at hand. The flavor of this delicious pan dulce will still be the same!
- Baking Tray.
- Mixing bowl.

Tips
- Different Spices: While cinnamon is the classic spice in marranitos, feel free to get creative with spices. A pinch of ground cloves, or allspice can add a nice warmth (essentially turning them into more of a true gingerbread cookie). Many family recipes include a bit of ground anise. If you love that traditional flavor, try adding 1/2 to 1 teaspoon of ground anise seed to the dry ingredients.
- Shape and Size Variations: Don’t worry if you don’t have a pig-shaped cookie cutter – you can make these cookies in any shape you like! The flavor will be the same. Use any large cookie cutter, or even cut the rolled-out dough into simple squares/rectangles with a knife or pizza cutter. You could also make smaller piggies (mini marranitos) if you have a smaller cutter; just reduce the baking time by a couple of minutes since they’ll bake faster. Other fun shapes (especially around the holidays) could be gingerbread men, stars, etc., effectively making Mexican gingerbread cookies in various forms.
How to Store
- Storing at Room Temperature: Place the cooled marranitos in an airtight container or a zip-top bag. Keep them at room temperature for up to 3 days. They’ll remain soft and yummy during this time. If you live in a very dry climate, you can add a half slice of bread or a tortilla in the container (not touching the cookies) – this old trick helps keep baked goods from drying out. Conversely, in humid climates, be sure the container is truly airtight to prevent moisture from making the cookies soggy.
- Fridge: After 3 days, or if you don’t plan to eat them right away, it’s best to move the marranitos to the fridge. They can last about a week in the refrigerator. Just be sure they are well-sealed. The cool temperature will slow down any staleness. When you want to eat one, let it come to room temp or give it a quick 10-second microwave zap to soften it up.
- Freezing Marranitos: For longer storage, freezing is the way to go. Place the cookies in a freezer-safe container or bag, with parchment paper between layers. Freeze for up to 2 months. This is super handy for make-ahead baking.
More Mexican Desserts
Print Recipe:
Marranitos (Mexican Pig Pan Dulce)
Ingredients
- 3 ½ cups all-purpose flour (455 grams)
- ½ teaspoon fine grain salt
- 1 teaspoon baking soda
- 1 ½ teaspoon ground cinnamon
- ½ teaspoon ground ginger
- ½ cup (98 grams) piloncillo (or dark brown sugar) - shaved until fine consistency (see notes below)
- ⅔ cup molasses (225 grams)
- 1 large egg - room temperature
- 3 Tablespoons evaporated milk (45 ml)
- 2 teaspoons vanilla extract
- 2 Tablespoons unsalted butter (28 grams) - softened at room temperature
- 1 large egg (to brush the cookies) - room temperature
- extra flour for kneading the dough
Instructions
Make the dough
- In a large bowl, whisk together the flour, salt, baking soda, cinnamon, and ground ginger. Set aside.
- IIn a separate large bowl, add the shaved piloncillo (or dark brown sugar), molasses, 1 egg, evaporated milk, vanilla extract. Using a spatula or your hands, mix until all ingredients are incorporated.
- Make the dough: Gradually add the dry ingredients to the wet mixture. Mix with a spatula or your hands until a dough starts to form. If the dough is be a bit sticky—add a little extra flour (a tablespoon at a time) until it's soft but manageable.
- Note: the dough will be a little sticky due to the molasses but it should not leave any residue on your hands when handling it.
- Shape the dough into a flat square disk, wrap in plastic wrap, and refrigerate the dough for at least 2 hours.
Bake
- Preheat your oven to 350ºF (175ºC) and line 2 baking sheets with parchment paper.
- Lightly flour your work surface, place the dough on your surface then sprinkle a little more flour on top of the dough. Roll out the dough to about ¼ to ⅓ of an inch.
- Use a pig-shaped cookie cutter (around 5 to 6 inches) to cut out the cookies. Place them on the baking sheets, leaving a little space in between. Bring together the scraps, re-roll the dough and cut out more cookies.
- Beat the second egg in a small bowl. Lightly brush the tops of the cookies with the egg wash to give them a nice shine.
- Bake for 12 to 15 minutes, or until the edges are set and the tops look slightly firm. They should still feel soft in the center—they’ll continue to set as they cool.
- Cool: Let the cookies cool on the baking sheet for 5 minutes, then transfer to a wire rack to cool completely.
Notes
- Place the piloncillo cone on a sturdy cutting board. Make sure it’s secure so it doesn’t roll around.
- Use a large, sharp chef’s knife. Holding the cone steady with one hand, use the other to carefully slice off thin layers from the edge of the cone. You’re basically shaving it down.
- Continue slicing thin layers until you have the amount you need. It’ll look like little flakes or shavings.
- If the mold sticks to the dough, dip it into flour to coat it lightly.
- If you’re kneading by hand, add about 1 to 2 tablespoons more milk as it may become drier. When knead with a mixer, less liquid is needed.
- Brushing the pigs with eggs gives that “barnish” to the bread.
- The dough’s texture is like a paste and not like a cookie dough.
- When baking the bread, it’s ready when you touch it in the middle and it bounces back. Don’t leave it in the oven too long as it will become dry and more crispy.
- To store marranitos: keep them in an airtight container at room temperature for 3 days, then transfer to the fridge or freezer. I recommend freezer.
- To freeze: make sure the marranitos are completely cooled, and then transfer them to an airtight container lined with wax or parchment paper or freezer-safe bag before storing them in the freezer for up to 2 months. Once ready to eat, simply thaw out at room temperature and enjoy!
Your Private Notes
Nutrition
Frequently Asked Questions
Yes, absolutely. Dark brown sugar is a great substitute for piloncillo in marranitos. Piloncillo is essentially unrefined cane sugar with a strong molasses flavor, while brown sugar is refined sugar with molasses added. Using dark brown sugar will give you a similar rich sweetness and color. For this recipe, use about 1 cup of packed dark brown sugar to replace the 8 ounces of piloncillo. You might also add a tablespoon or two of molasses to the mix (optional) to deepen the flavor, since piloncillo has a bit more complex taste than plain brown sugar.
Not necessarily. The need for yeast depends on the recipe style. Traditional pan dulce recipes sometimes include a small amount of yeast in addition to baking soda/powder – this can add a subtle bread-like puff and a hint of that yeasty aroma. However, you can make marranitos without yeast (like in this recipe) and they will still rise nicely from the baking soda alone. In fact, many authentic recipes (and commercial panaderías) skip yeast for a more cookie-like texture, while others use it to get a fluffier, softer bread-like consistency. If you omit the yeast here, the cookies will be a bit more dense but still soft and yummy. The baking soda (especially when combined with an acidic ingredient like molasses, if used) will make them puff up as they bake. So, yeast is optional – it adds a nice touch but isn’t required for success.
More about Marranitos
Marranitos literally means “little pigs” in Spanish, a fitting name for these pig-shaped pastries. This iconic Mexican sweet bread has been enjoyed for generations. It’s said that marranitos originated in the state of Veracruz, Mexico, sometime after the Spanish introduced wheat and pigs to the region.
Over time, marranitos have become a staple alongside other pan dulce favorites like conchas and orejas.
Marranitos are usually about the size of your hand, perfect for a breakfast treat or afternoon snack. In Mexico, it’s common to enjoy them with a hot cup of coffee or champurrado (a thick chocolate atole) – they’re ideal for dunking because they soften but don’t fall apart easily.
The outside of the bread gets a slight crisp edge in the oven, while the inside stays tender and a little fluffy. With each bite, you get hints of piloncillo and cinnamon, making it hard to eat just one!
I’m not clear on how much piloncillo, dark brown sugar, and molasses to add.
The recipes says 1/2 cup piloncillo and implies the same measurement when substituting dark brown sugar. The recipes also says add 2/3 cup molasses.
The FAQs say to use 1 cup of packed dark brown sugar to replace the 8 ounces of piloncillo, and (when using brown sugar) to add a tablespoon or two of molasses to the mix (optional). Is this in addition to the 2/3 cup of molasses already called for in the recipe?
Ingredients list states butter yet nowhere in the recipe does it give the instructions on where to use that butter or how to use it?
This recipe forgets to mention to add the butter to the wet ingredients
Great except unsalted butter is called for but no where in the recipe does it tell you where to add it
i always loved this recipe, i was wondering if i could receive the old recipe before its update, i really enjoyed the old recipe and would like to keep making it the same way as before, it would be greatly appreciated
Hi Britany! So glad to hear you enjoyed the original recipe! I sent it to you via email. Please let me know if you have any other questions and I appreciate you stopping by!
Ana
I miss eating these from my panaderia in Mexico so I made them and they were like how I remember them! So delicious! I think I baked them for too long as they turned a little hard. Next time I’ll make them for 12 minutes only and not 15.
I would love to know the story behind using the pig shaped cookie cutters. I find Mexican heritage stories so wonderful to hear! Thank you Ana!
Hi Patty! That’s such a great question! The pig shape for Marranitos (or puerquitos) is actually rooted in tradition and symbolism. In Mexican culture, pigs have long been a symbol of abundance and nourishment. Making these cookies in the shape of a pig was a playful, recognizable way for panaderías to create something fun for kids while also keeping with that idea of comfort and home.
The cookies themselves are usually made with piloncillo (unrefined cane sugar), cinnamon, and sometimes molasses or ginger, which gave them that warm, cozy flavor that so many of us grew up with. The shape just made them even more special—when you’d go to the panadería as a kid, you’d always spot the big tray of marranitos and know exactly what they were by their shape.
So while there’s no one single origin story, it’s really about keeping baking fun, memorable, and tied to the traditions of Mexican pan dulce. The pig has just become part of the charm.
I hope you’re having a lovely day!
xo, Ana
Hello, I’m a Mexican (del D.F.) living in France and I want to try to make my own puerquitos for my children. Your recipe looks so good. What size cookie cutter did you use, for the larger ones? Thanks! Muchos saludos!
Hola Rebe! For large Marranitos, you’ll want a cookie cutter that’s about 5 to 6 inches long from snout to tail. This size is closest to the ones you’d find in panaderías in Mexico — big enough to be soft in the center with slightly crisp edges.
Enjoy!
I love this Marranitos recipe! All of the spices remind me of ginger even tho there is no ginger lol! Can’t wait to try them again!
Thank you Monica!! I’m so glad you enjoyed them!