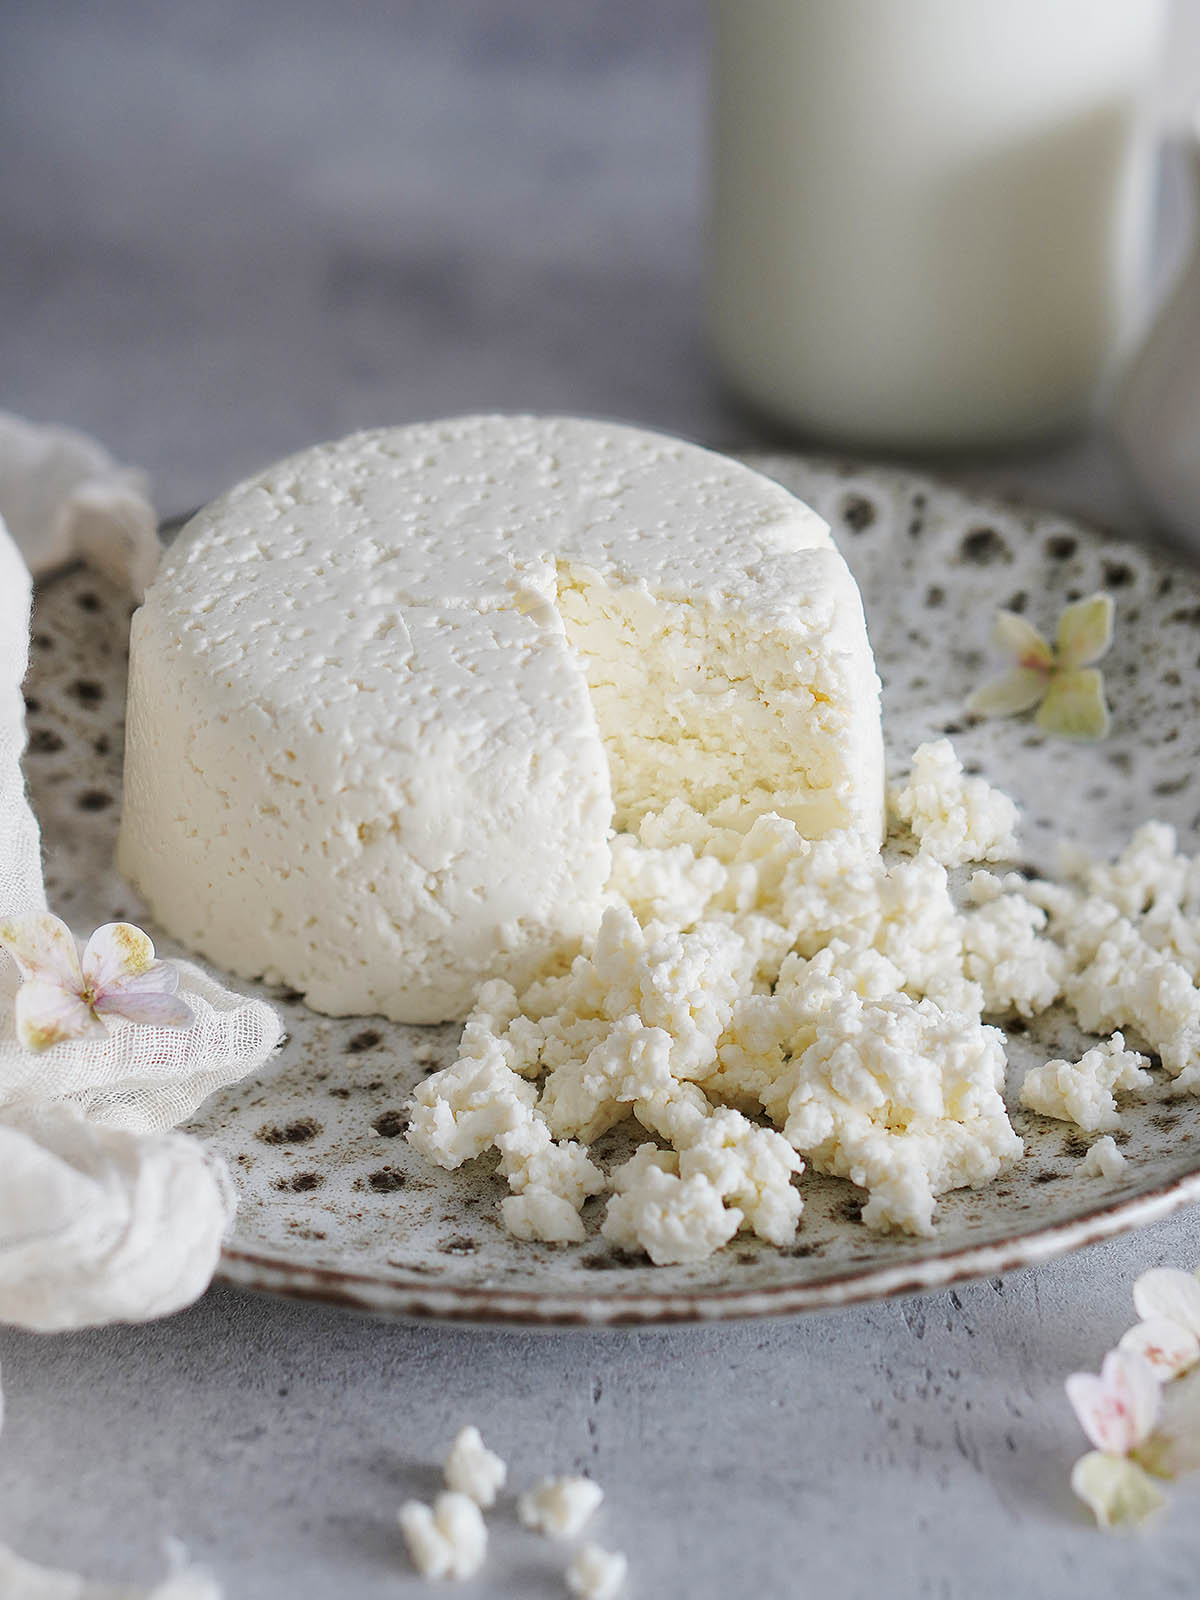
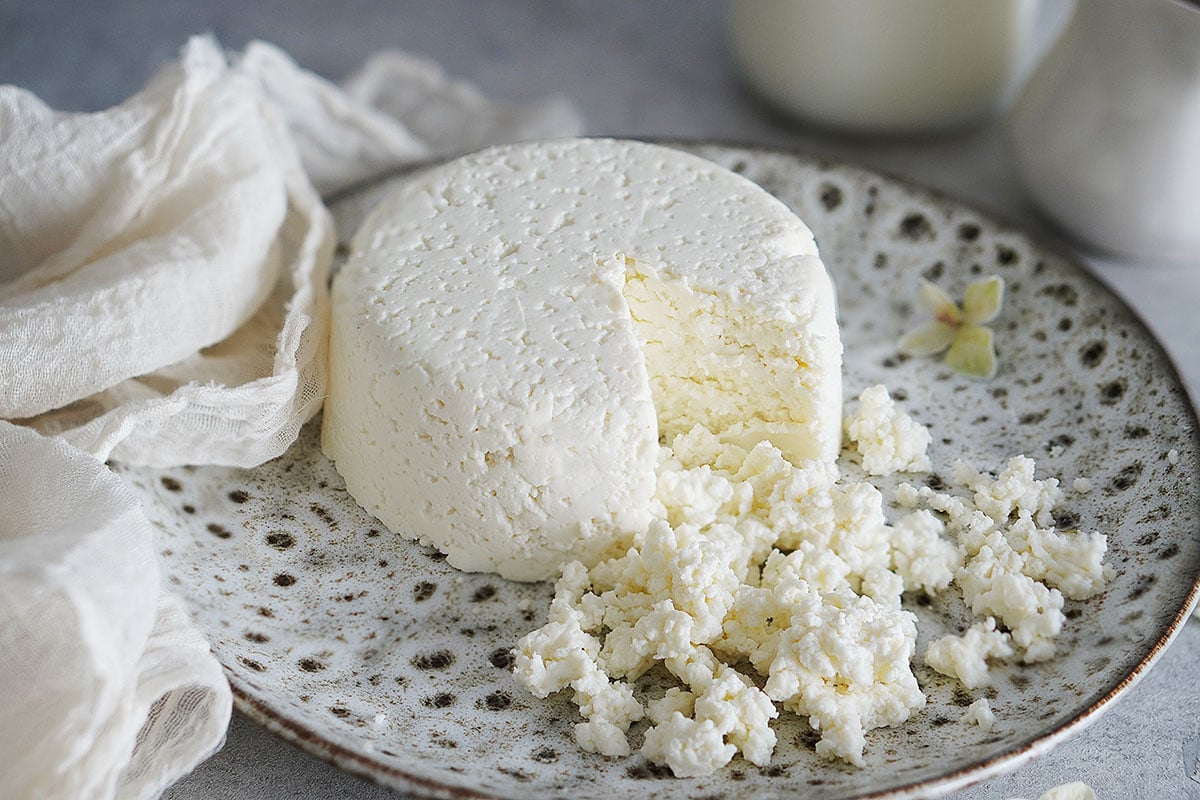
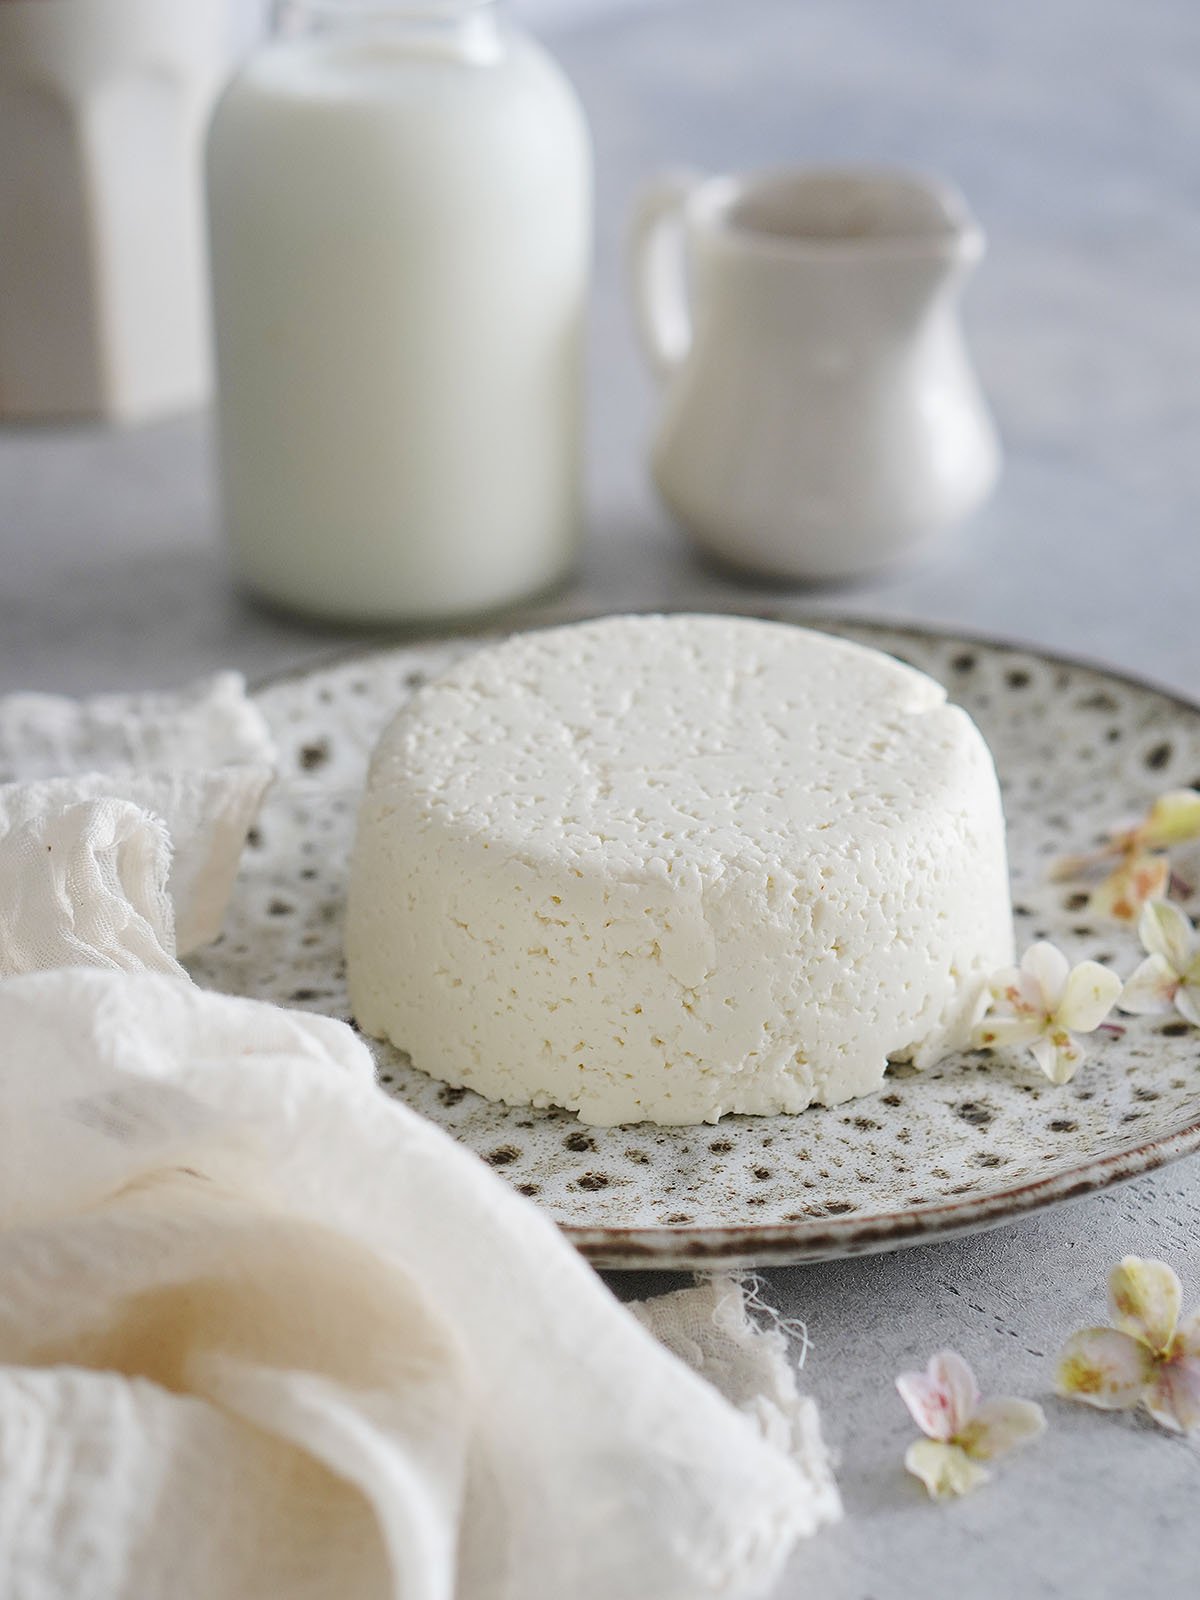
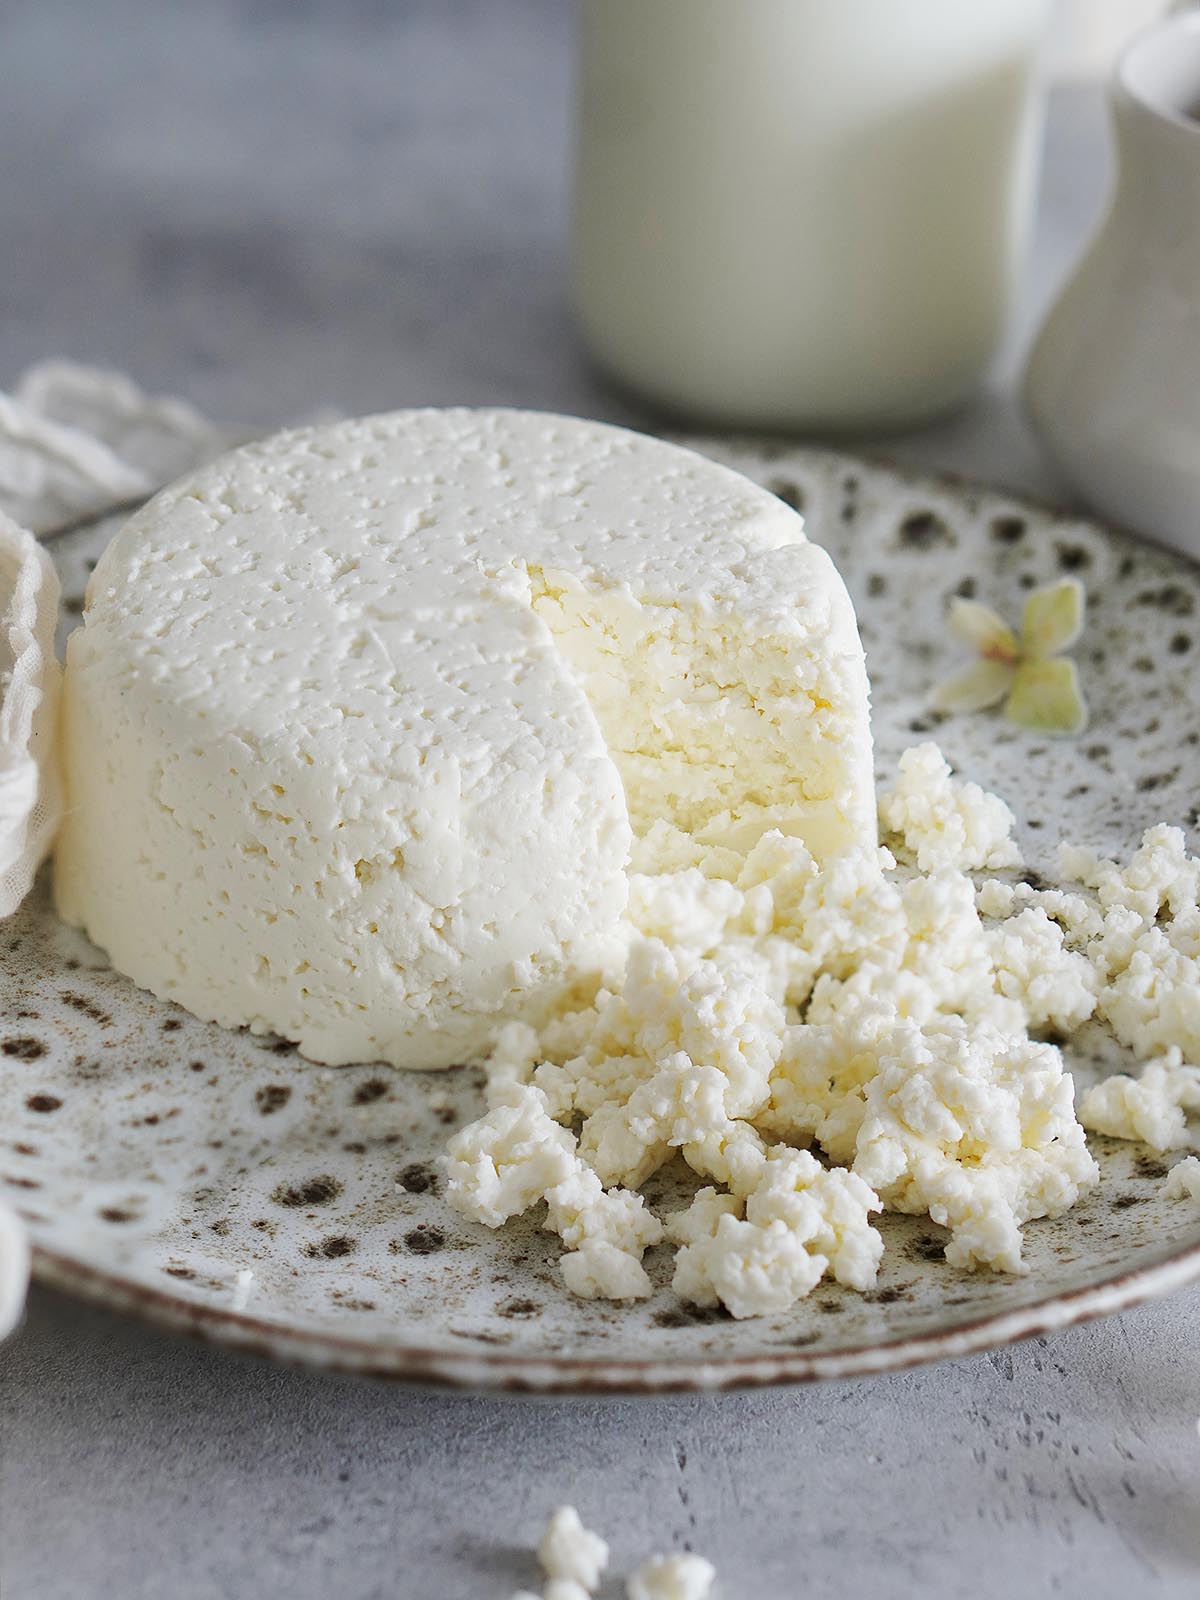
Queso Fresco is a semi-soft cheese made from whole cow’s milk. It has a crumbly texture with a delicious, mild and milky flavor. Ideal for various Mexican dishes. This homemade recipe is easier than you think!
🗒️ In This Post
If you’ve ever wanted to try your hand at making cheese give this Queso Fresco a try. It’s the easiest cheese you can make at home.
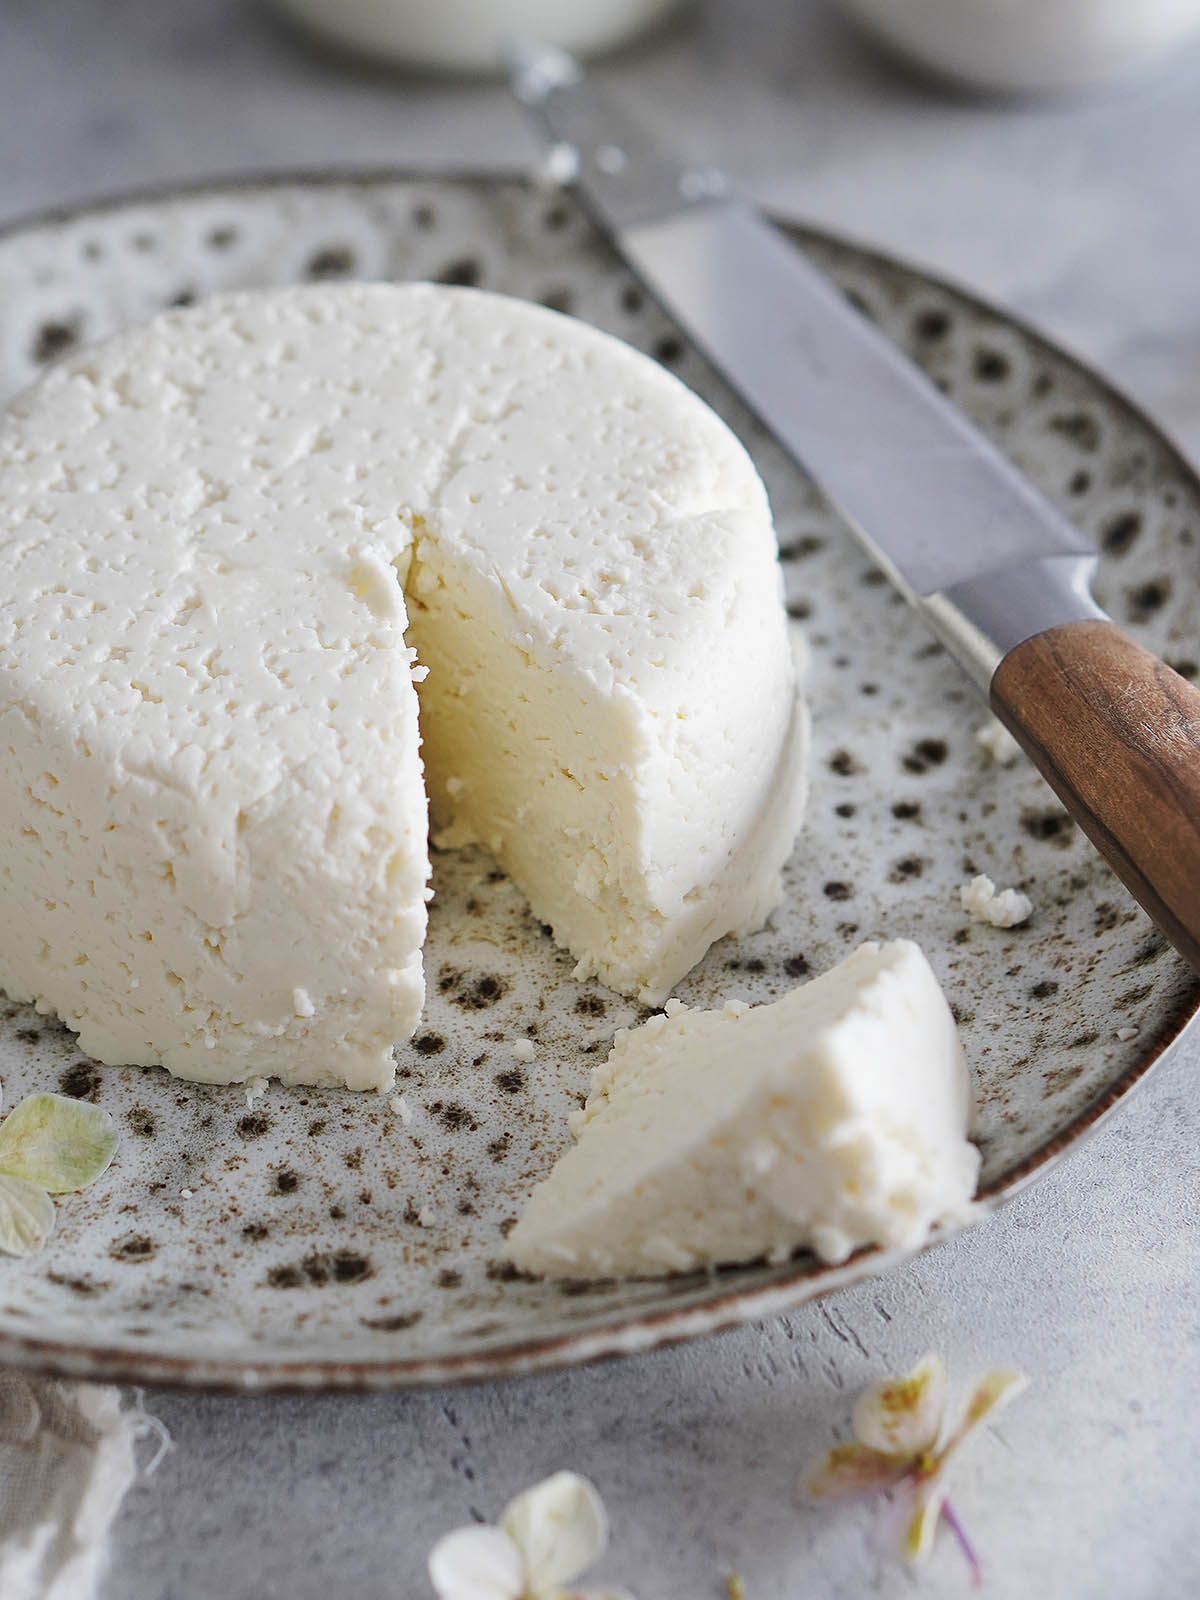
The taste of queso fresco is mild and slightly tangy, which makes it incredibly versatile in the kitchen. It’s not overpowering like some aged cheeses, so it pairs well with a wide range of dishes.
No aging, no waiting, just delicious cheese in half an hour!
Why you’ll love this recipe
- It’s super simple to make at home. It only takes about half an hour!
- It can be eaten right away.
- There is no need to use rennet!
- It’s loaded with calcium, vitamins, potassium and good proteins.
Growing up one of my favorite things to eat were burritos made with homemade flour tortillas, refried beans and filled with a semi thick slice of queso fresco. Add some salsa huichol of pickled jalapeños and it was pure heaven….well, still is!
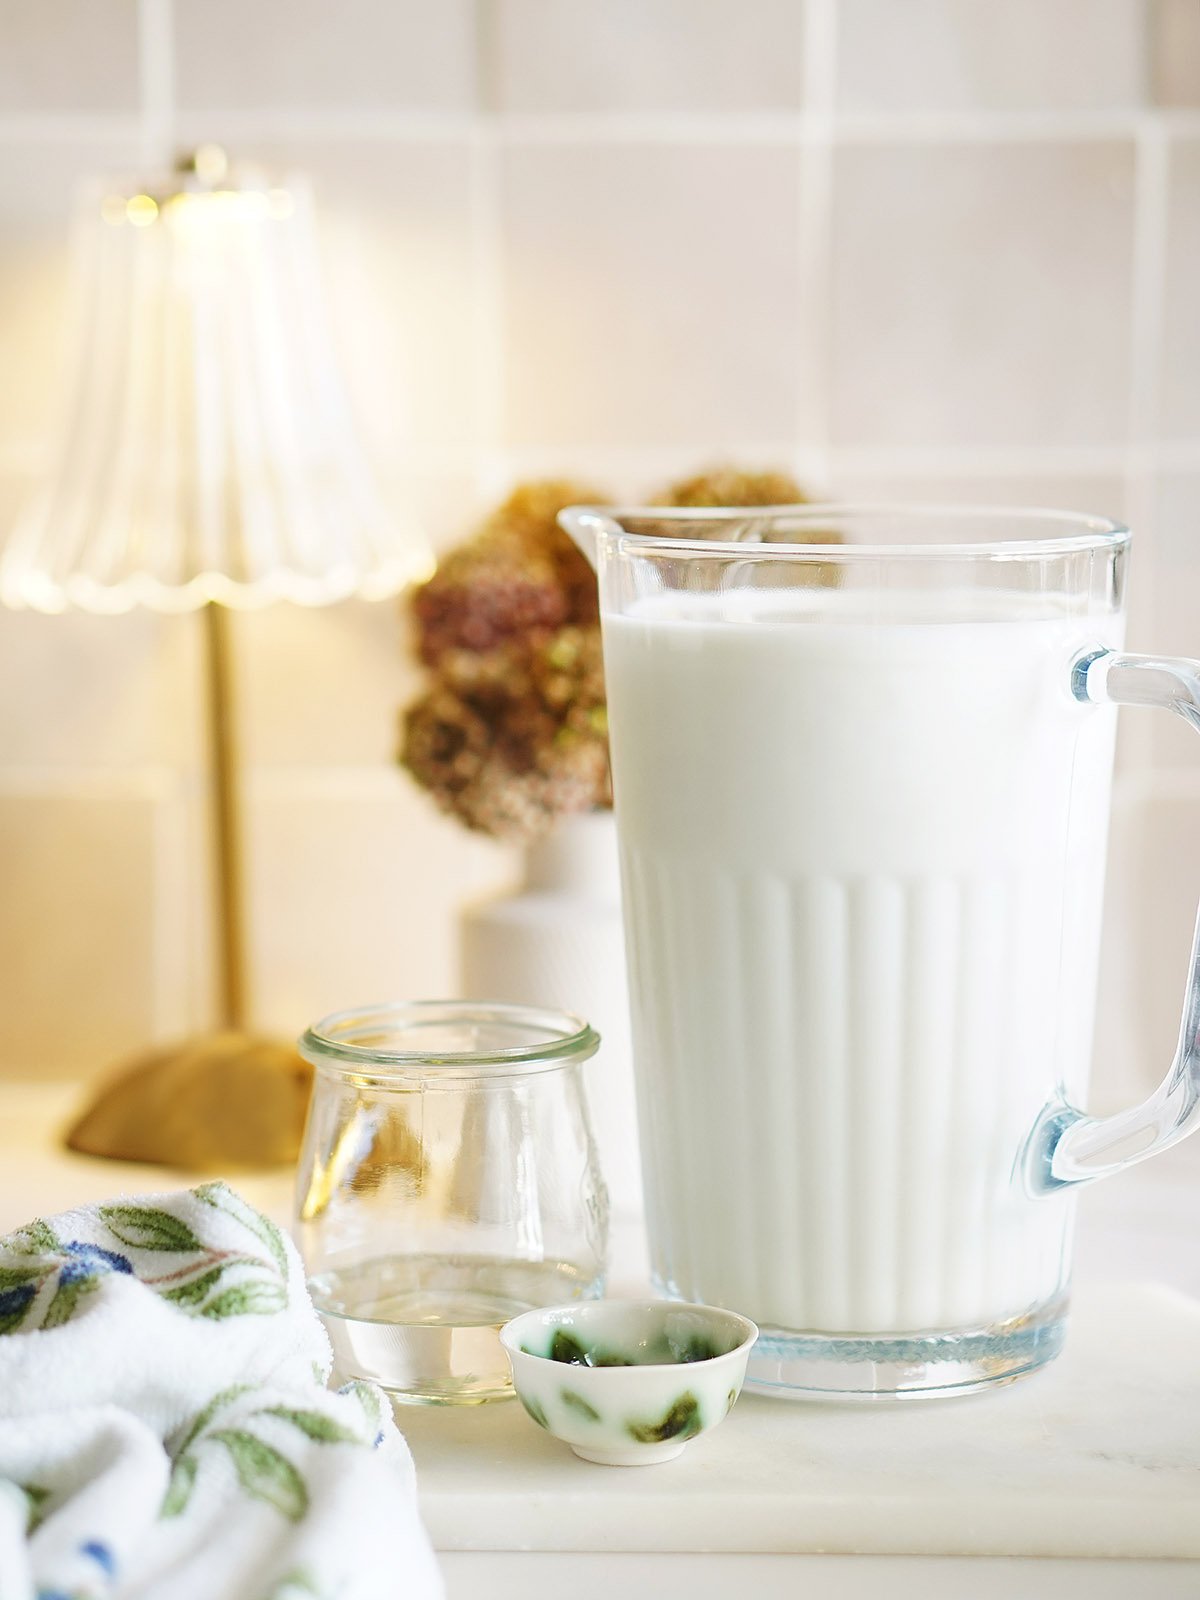
Ingredients
- The Milk: Use whole milk
- White vinegar. Some recipes call for lemon juice but I find that vinegar works the best. Save those lemons to make lemonade 🙂 .
- Table salt: Regular salt is used for seasoning the cheese, enhancing its taste without any unwanted additives.
Equipment
Luckily you don’t need complicated equipment to make this Mexican cheese! All you need is a large stock pot, an instant-read thermometer, fine-mesh strainer, some cheesecloth or a tea towel and a storage container.

How to Make Queso Fresco (Step by Step)
Let me show you how easy it is to make homemade queso fresco with these step-by-step instructions.
This is a visual overview of the steps to make this recipe. See the detailed list of ingredients & instructions in the recipe card below.
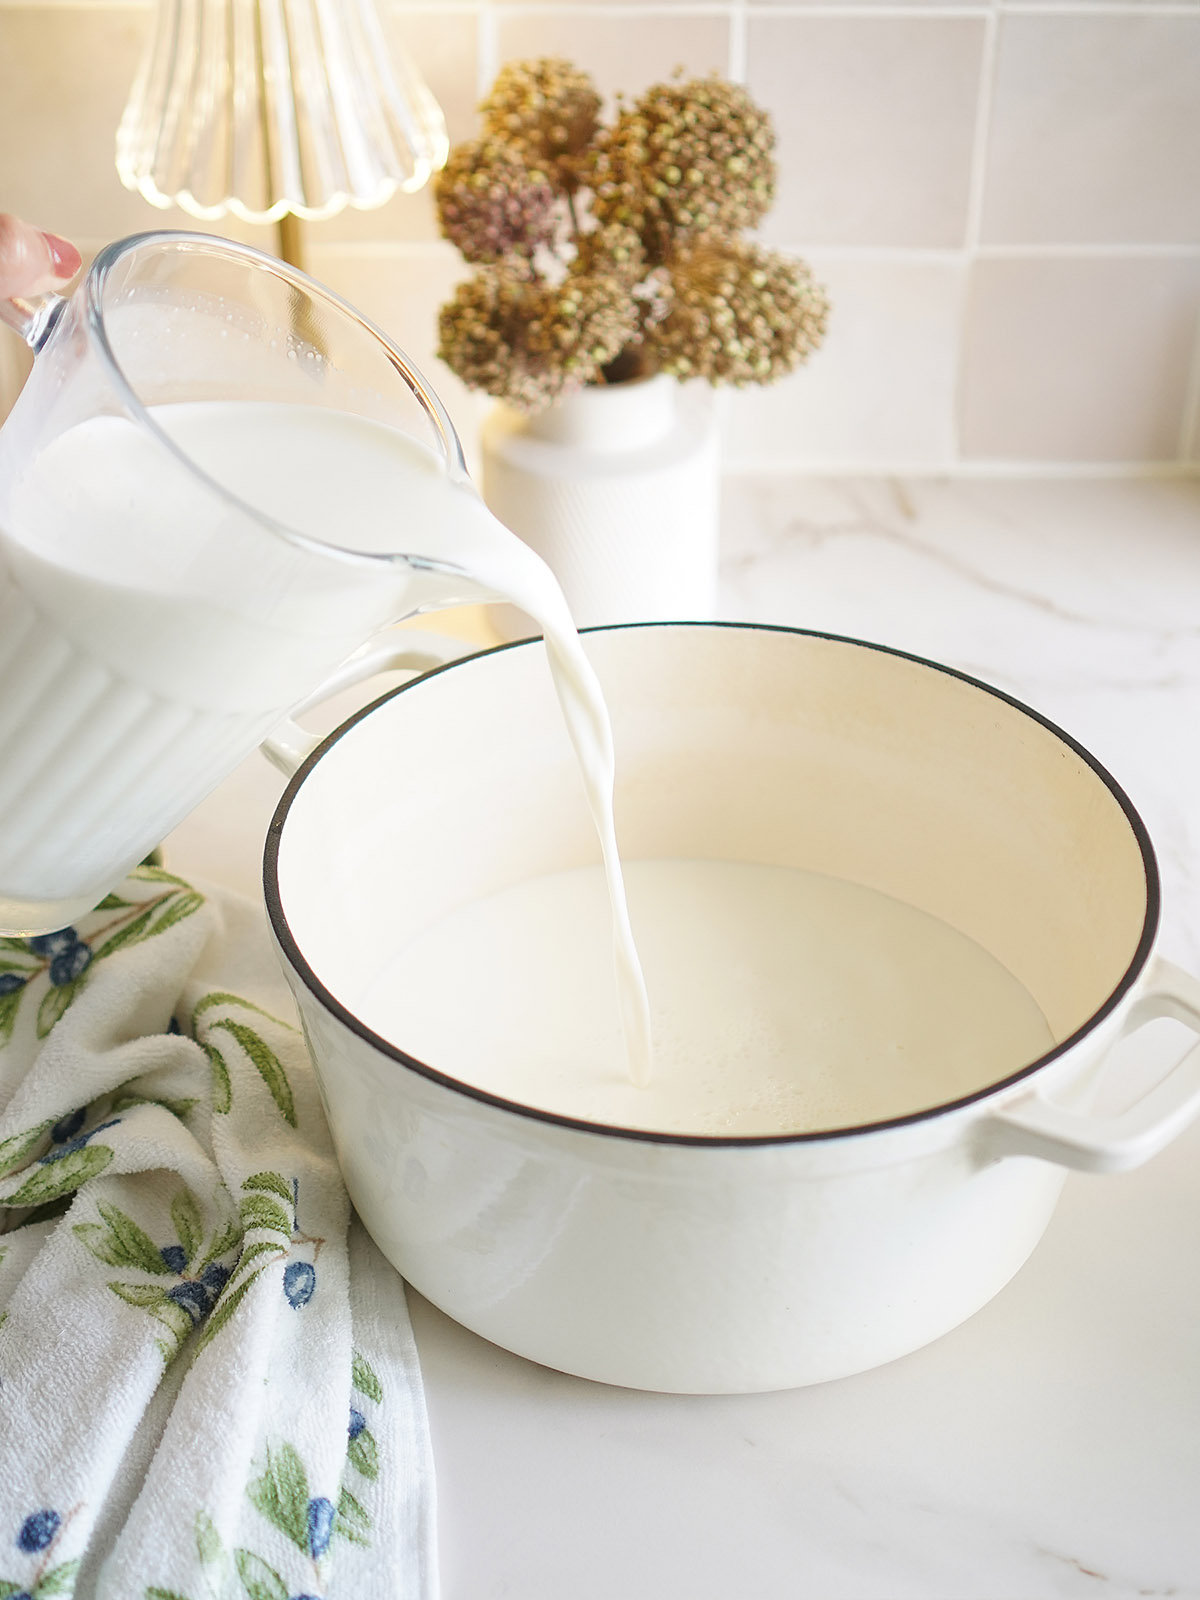
- In a large pot, heat the milk over medium-high heat, stirring often, until a thermometer reads 170°F (90°c).
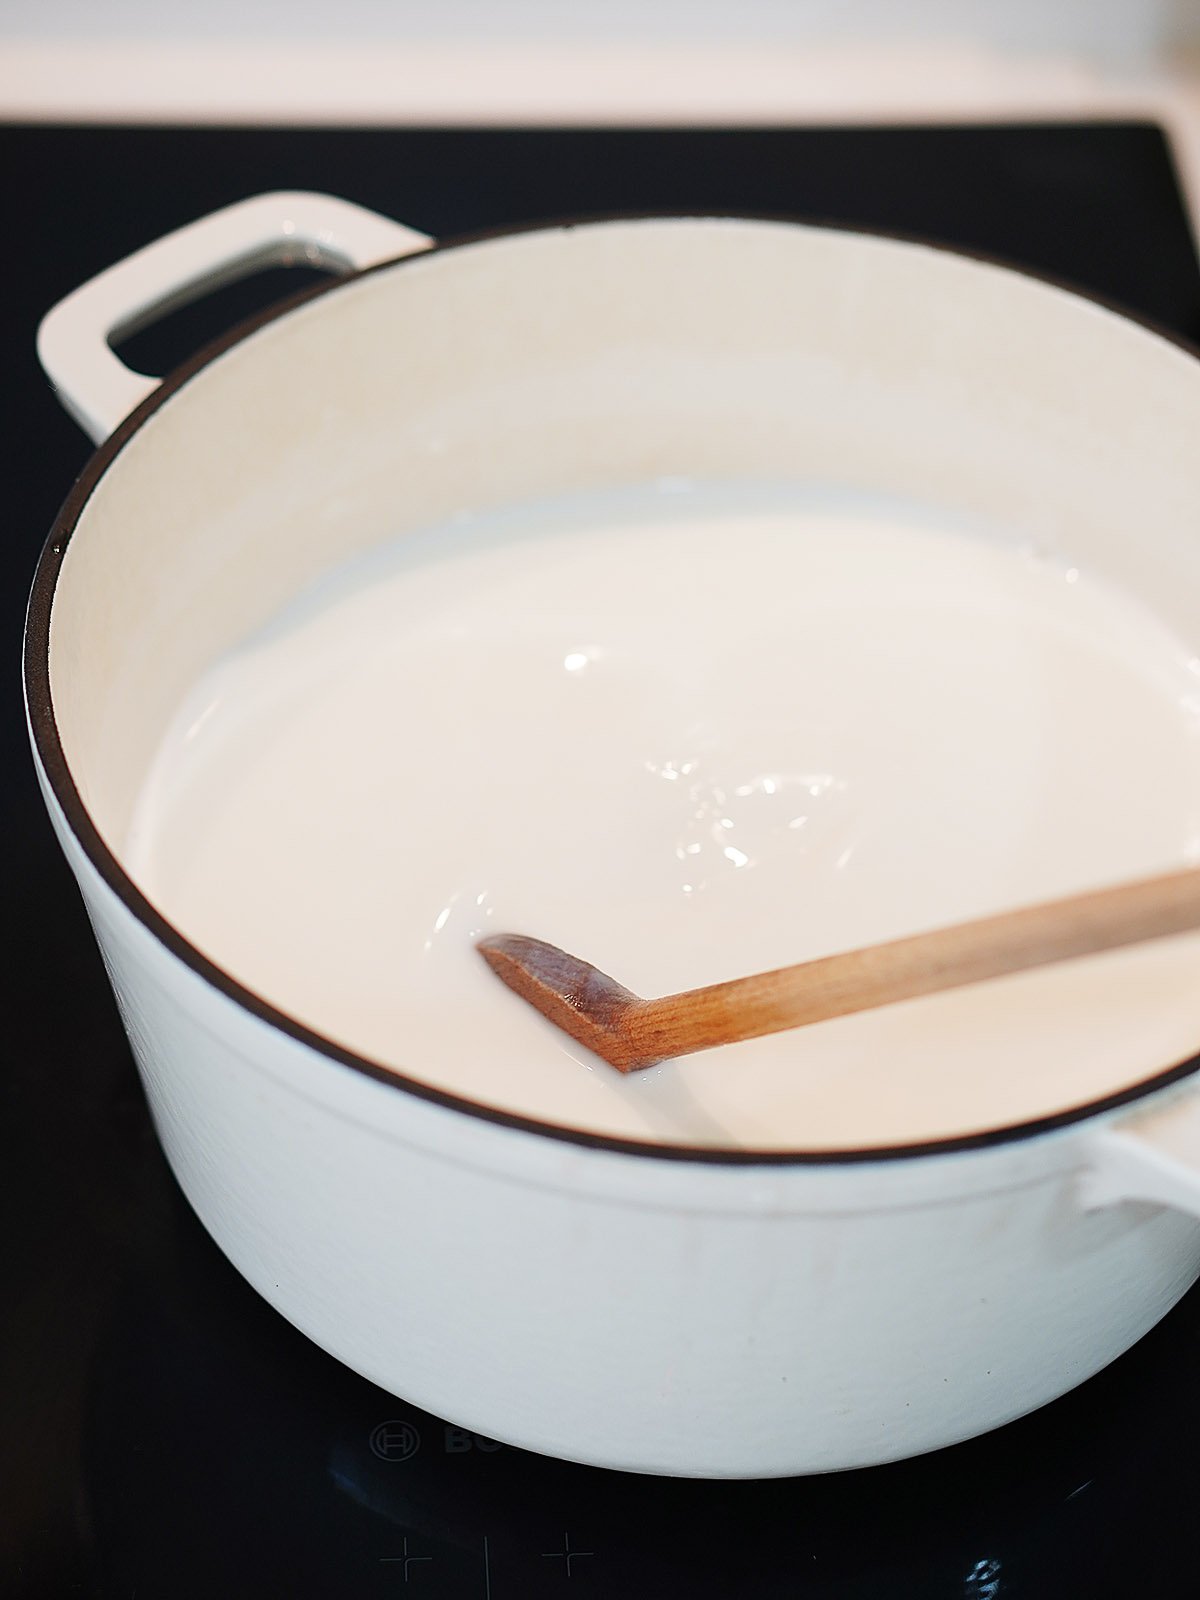
- Stir often, until a thermometer reads 170°F (90°c). Note: If you don’t have a thermometer, here are a few clues what the milk will look like. At this temperature, the milk is far from boiling, but it’s definitely getting there. You might notice some steam and foam rising gently from the surface.
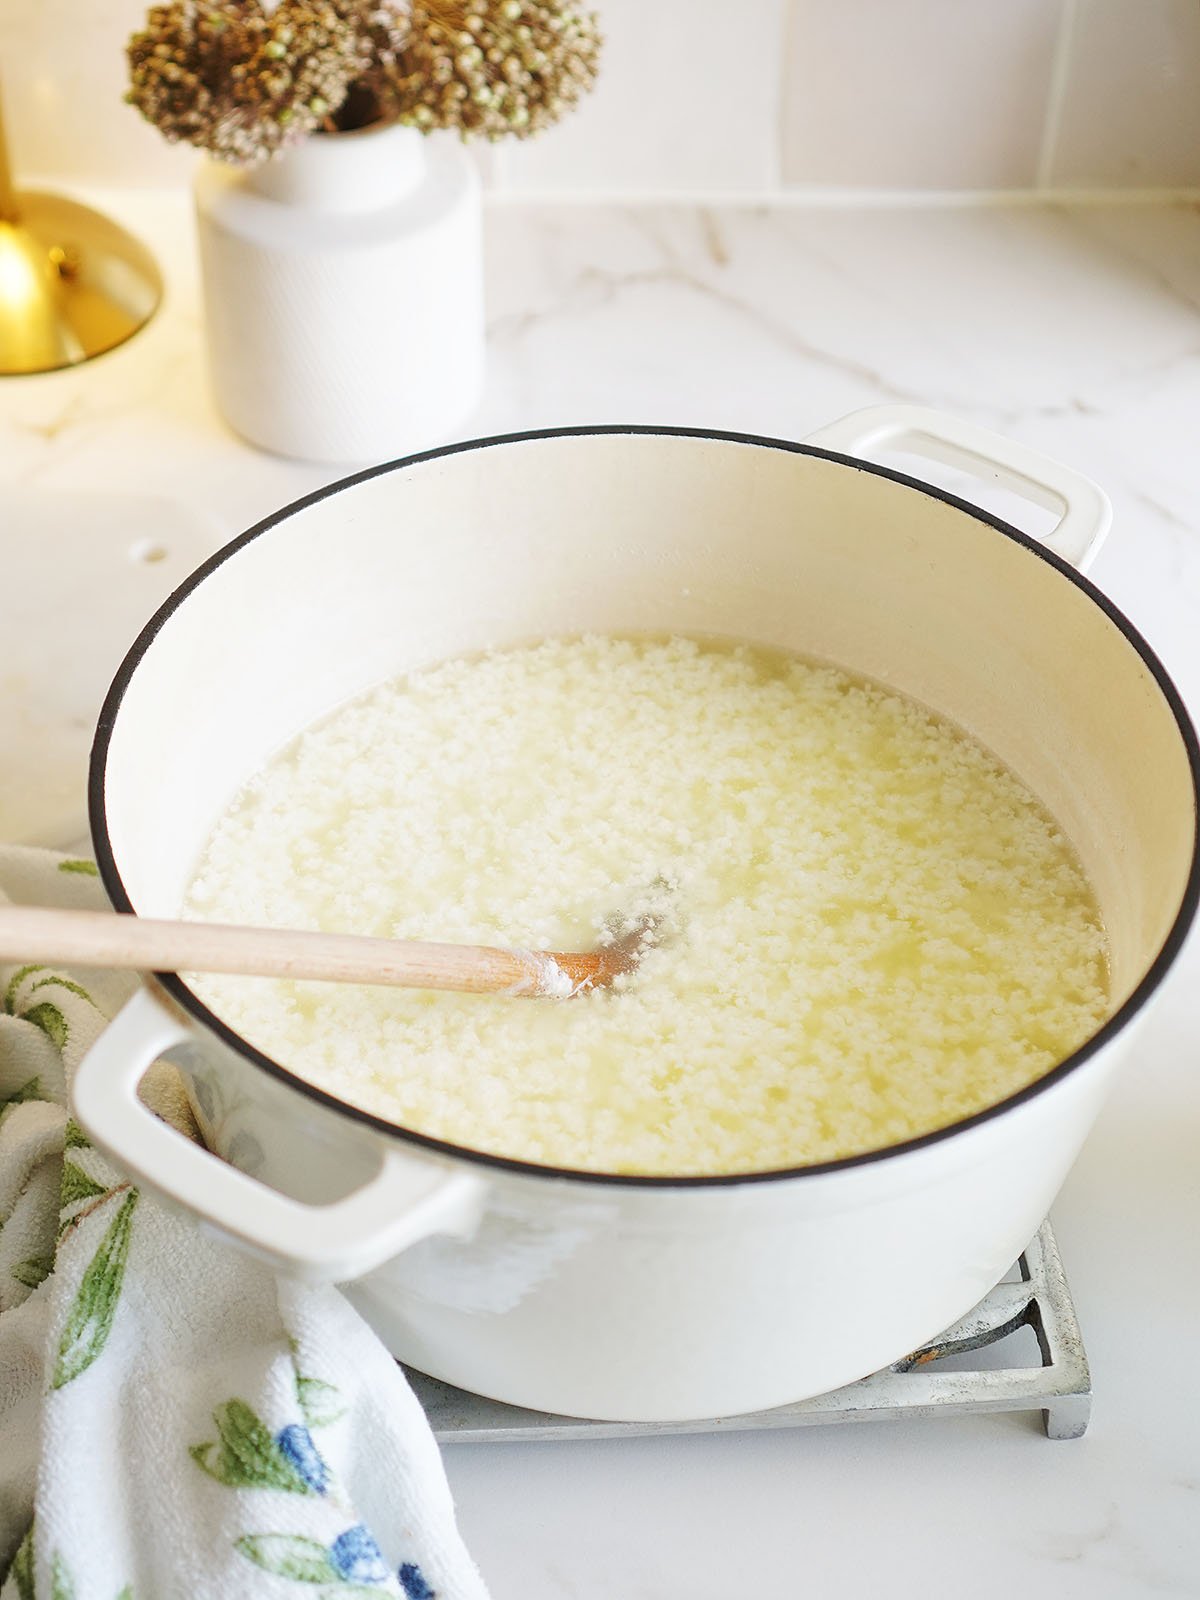
- Pour in the vinegar and salt. Using a wooden spoon, stir for 2 minutes to allow the milk to curdle. (The curds will appear small.) Turn off the heat and let sit for 15 to 20 minutes.
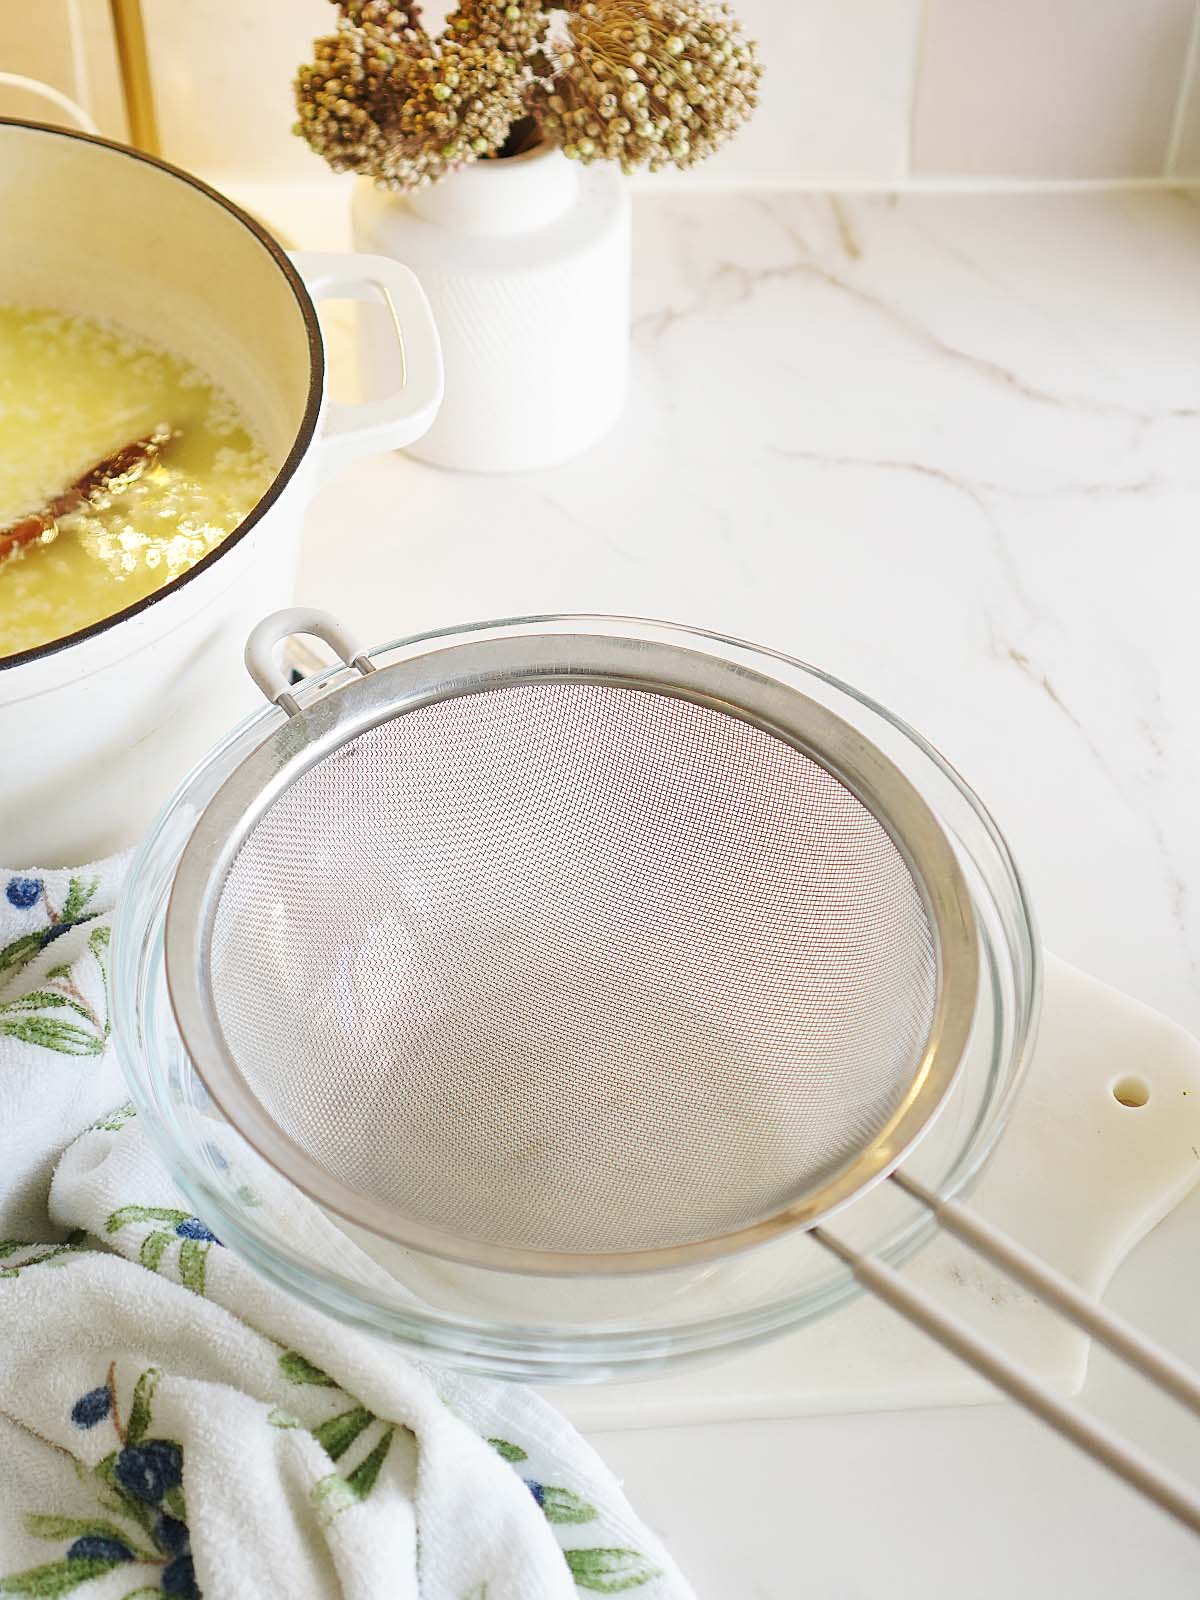
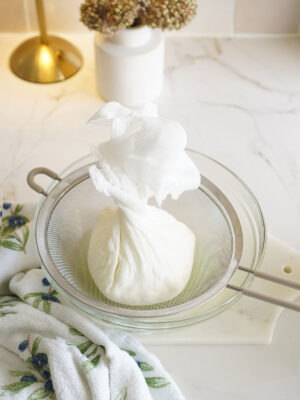
- Line the inside of a strainer with enough cheesecloth to drape over the sides of the strainer by a few inches, then place the strainer in another large bowl, pot or the sink.
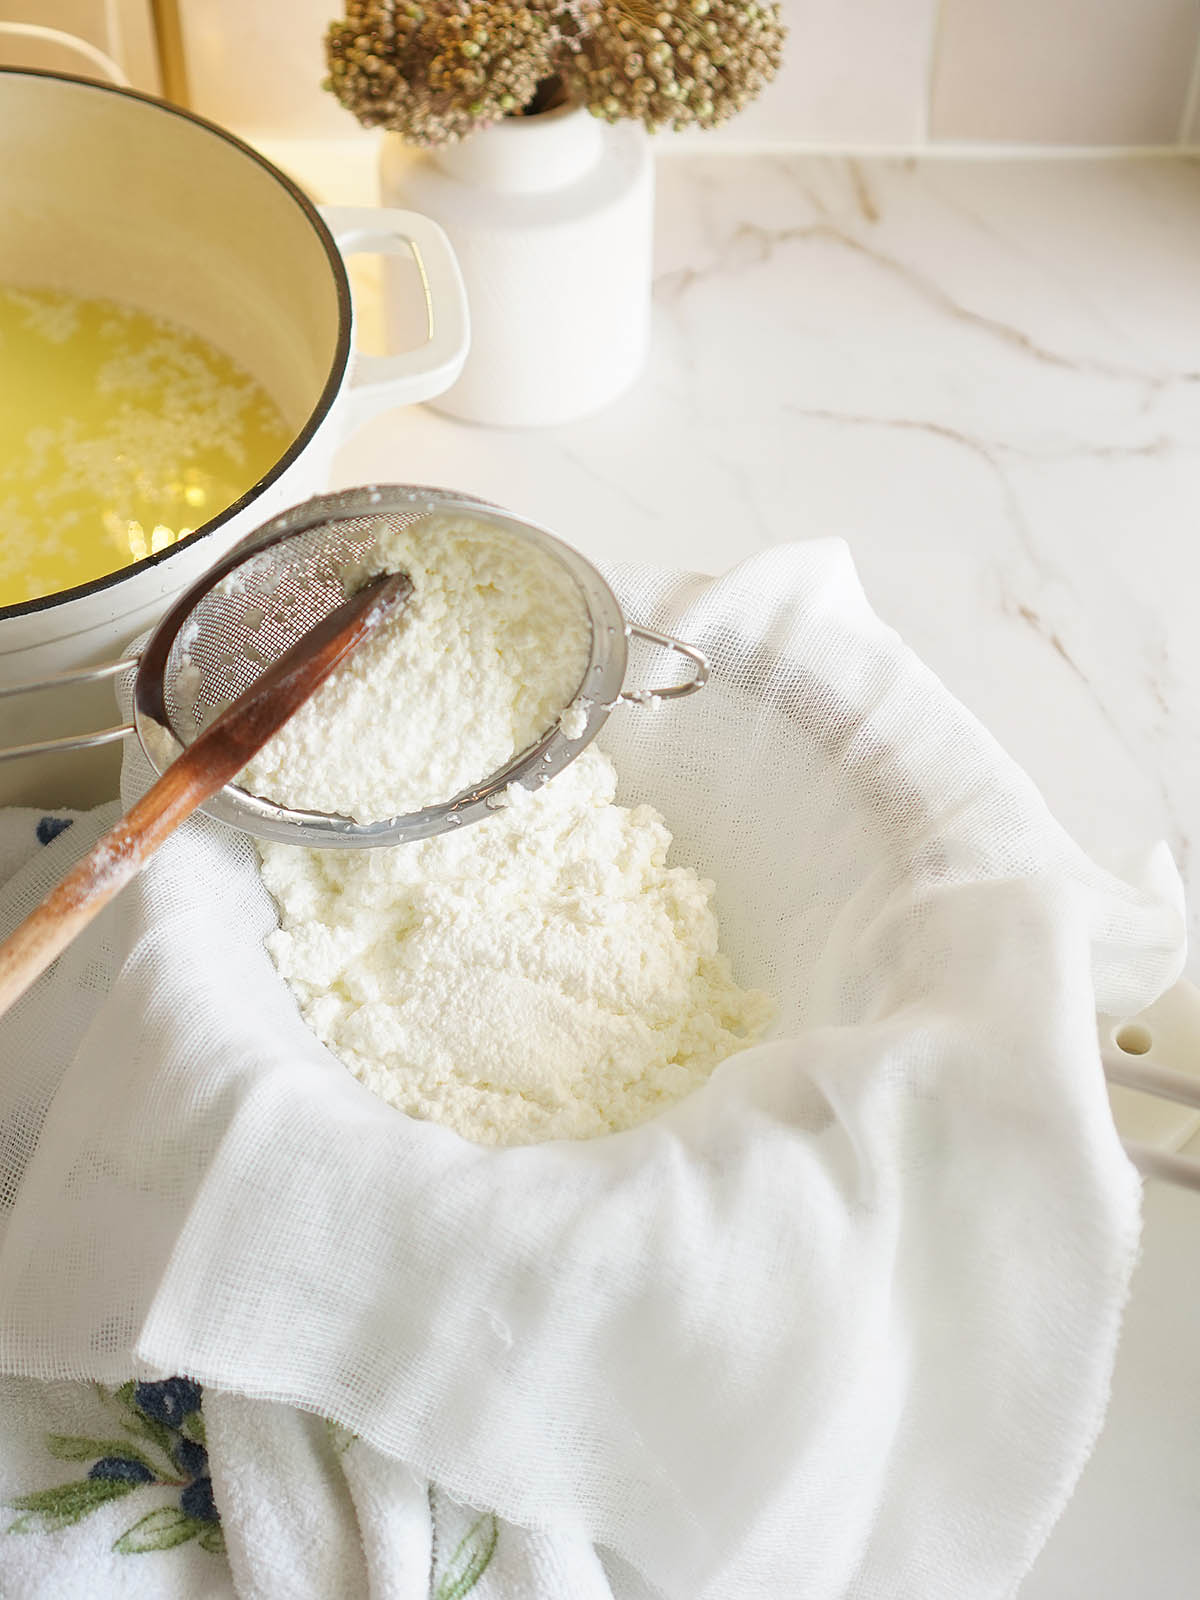
- Carefully pour the cheese mixture into the lined colander; let sit until the liquid is mostly drained out.

- Bring the open ends of the cheesecloth together in your hands to form a bundle, then squeeze out any remaining liquid. Place the bundle back in the strainer. Continue draining if it still has some liquid.
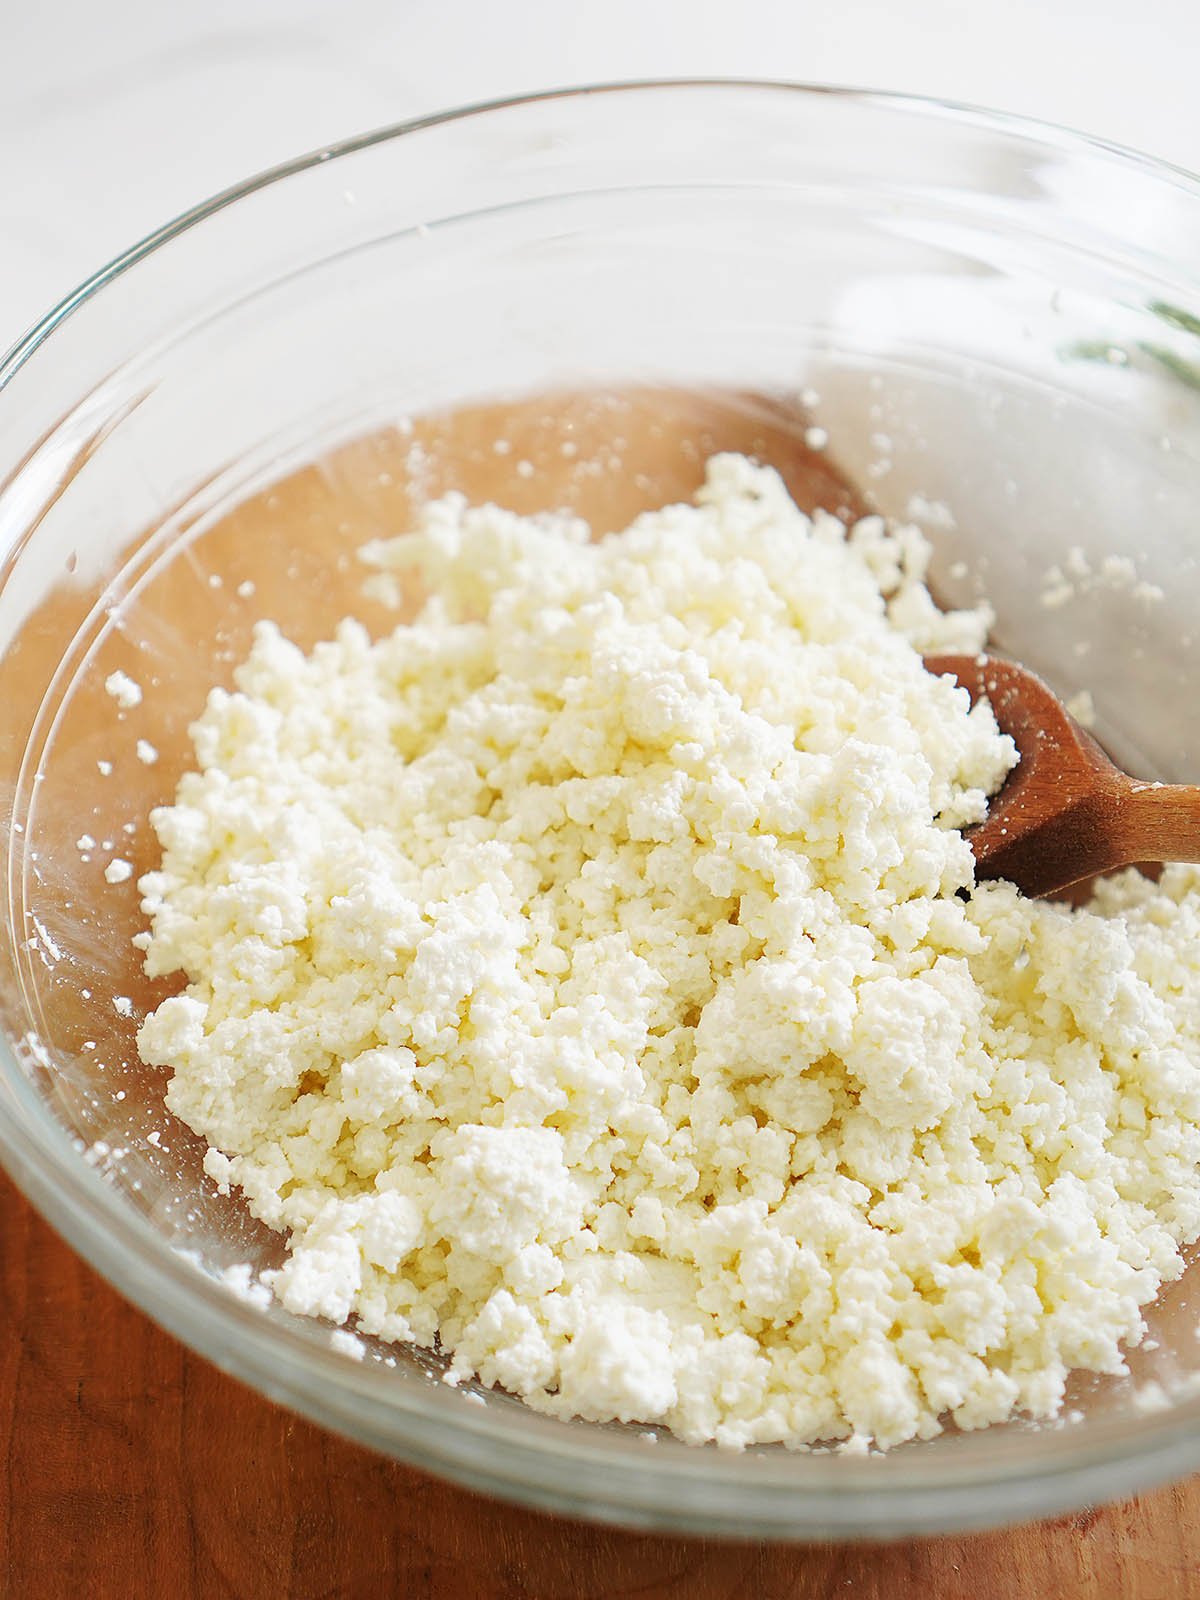
- Remove the liquid from the bowl (or use a different bowl) and transfer the cheese to it. Crumble it and taste for salt. If it needs more, add according to taste. Mix well.
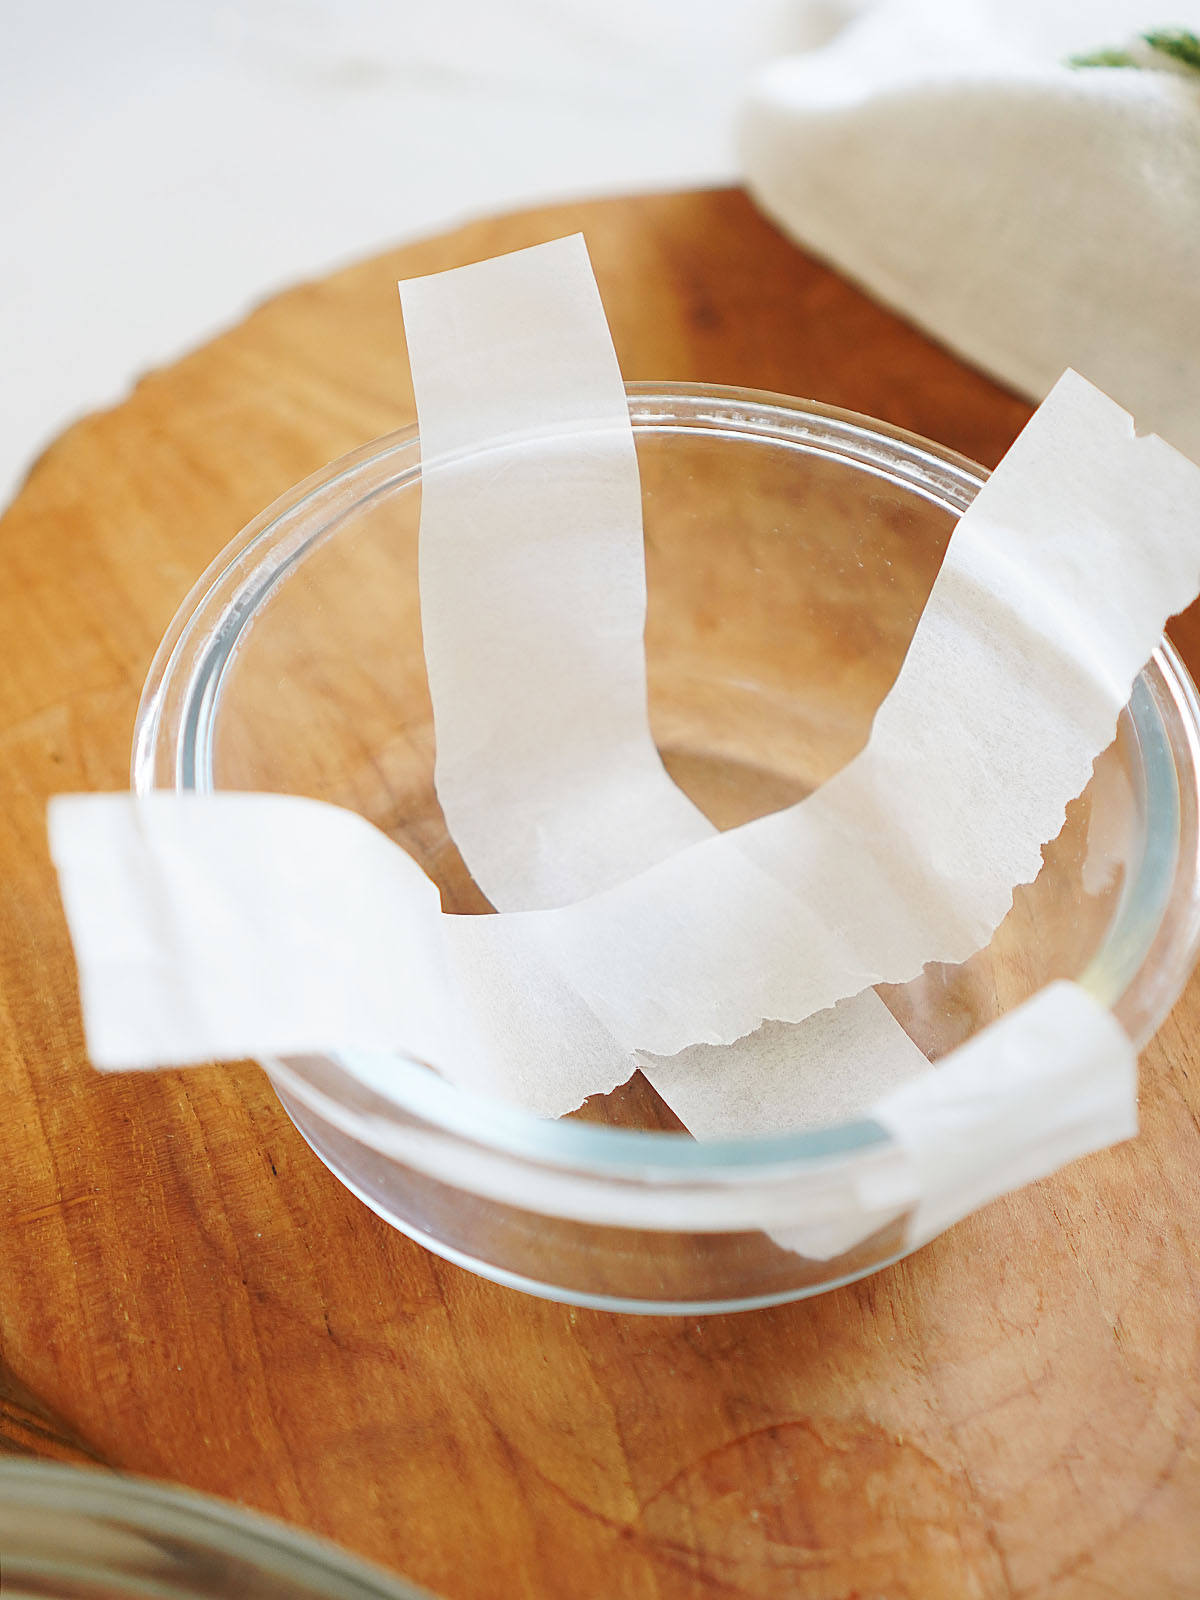
- Top tip! Line a storage container with 2 strips of parchment paper forming a cross. This will help the cheese to come out once is ready to be consumed.
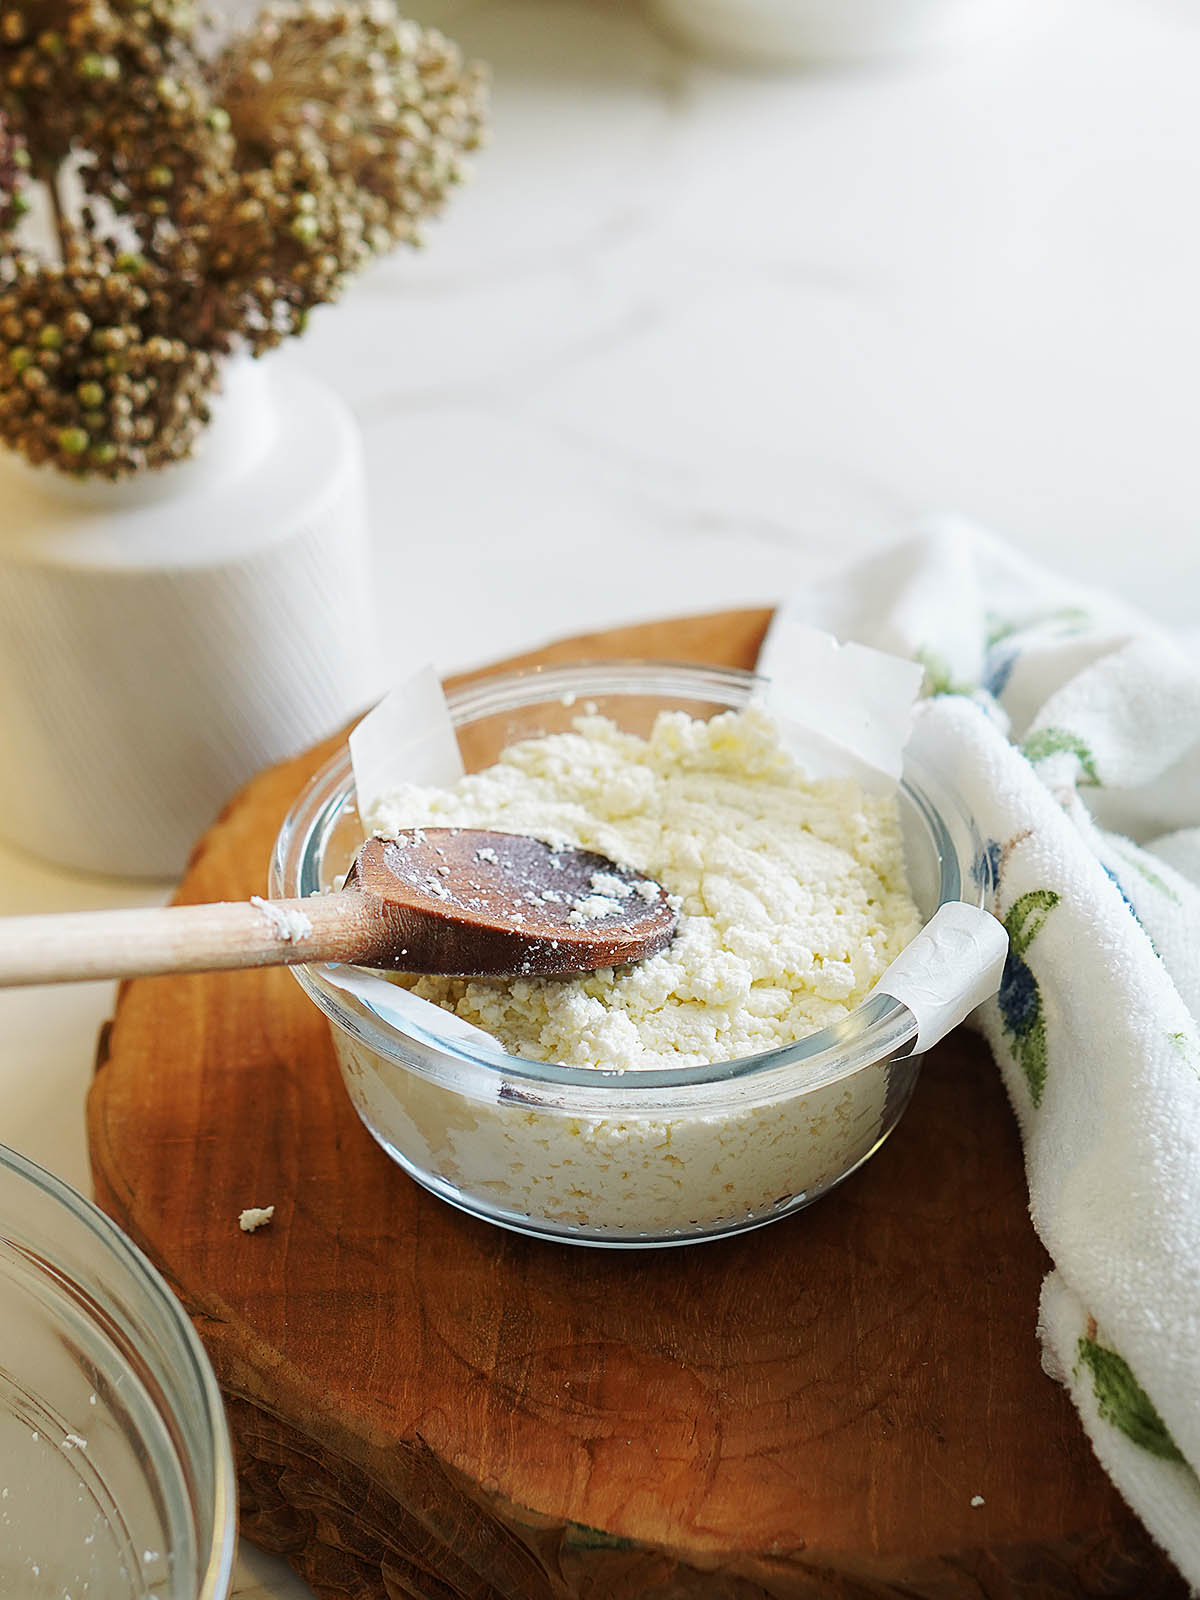
- Transfer the cheese into the container and push down with the back of a spoon or your hands as you add the cheese. Remove as much air as possible to make a solid cheese shape.
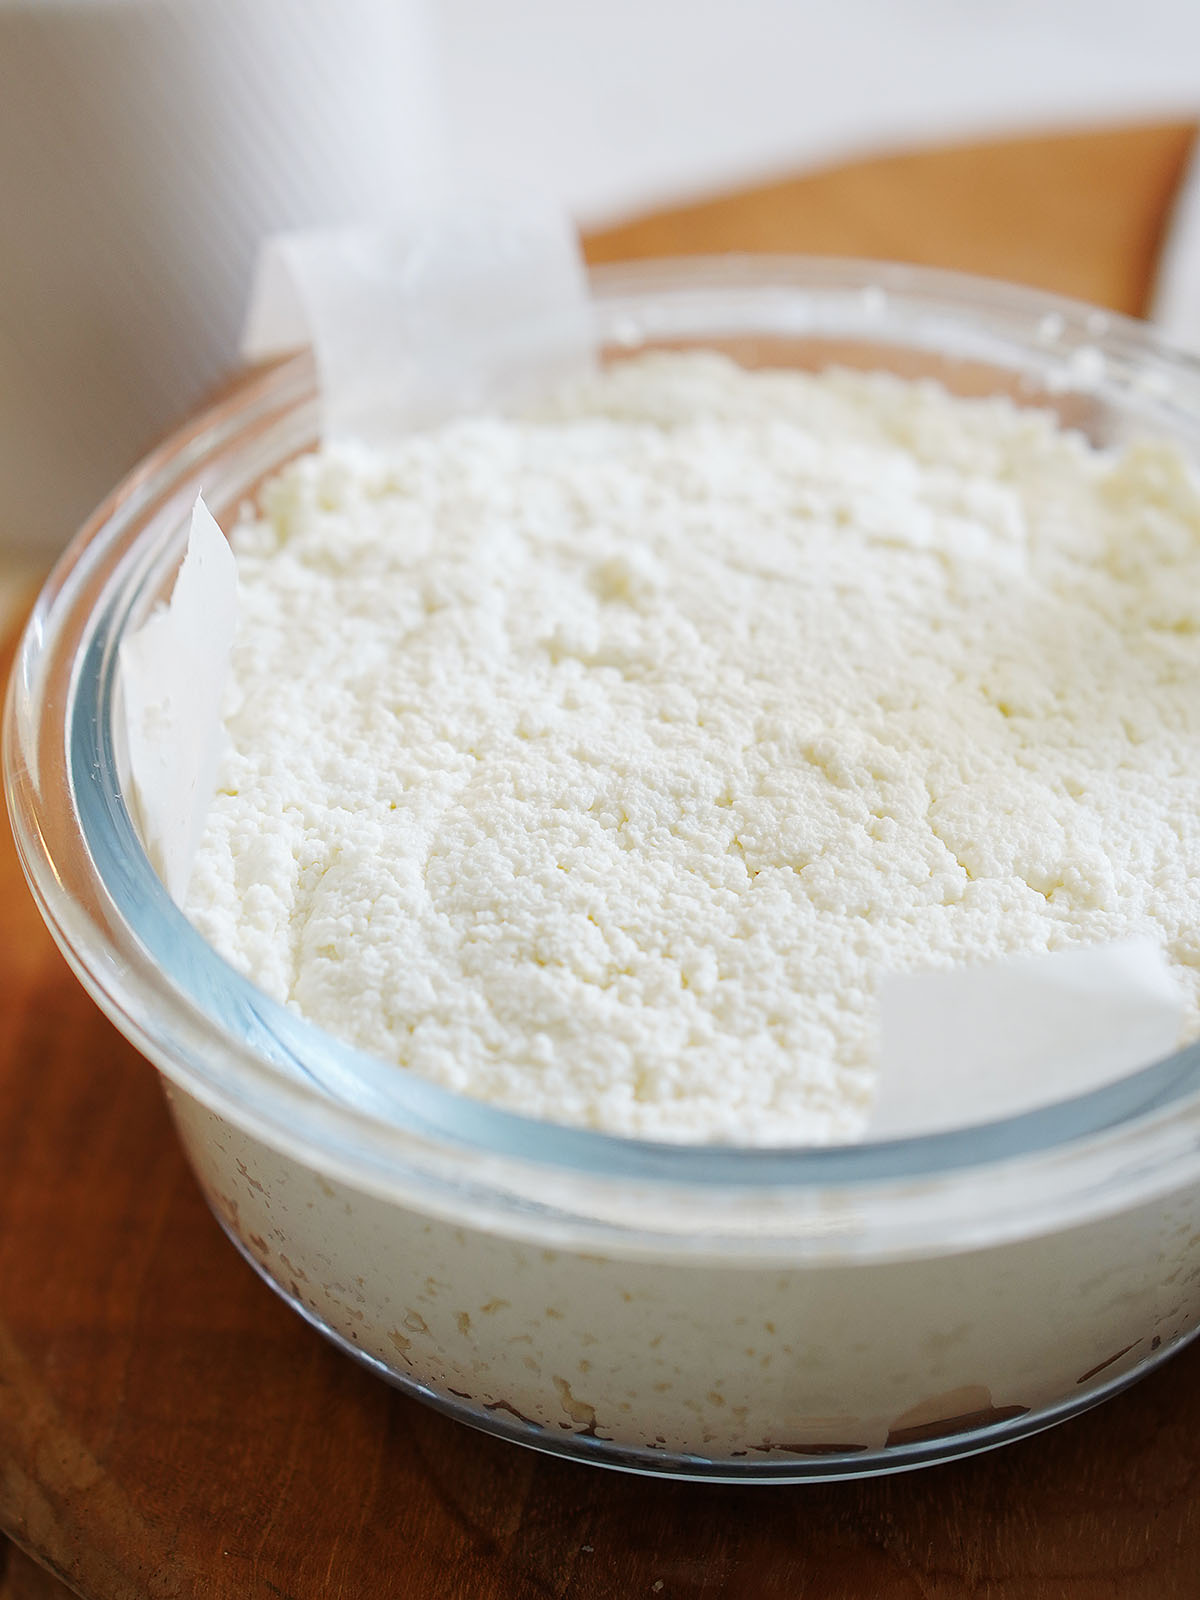
- Close the container with an airtight lid and refrigerate at least 8 hours or up to overnight. The cheese will be ready to crumble or dice.
How To Use
Here are a few recipes that use the crumbly cheese:
- The cheese doesn’t melt and it makes a great a filling for Enchiladas, Entomatadas & Enmoladas.
- Sprinkle some crumbled cheese on Tacos Dorados, Refried beans, Veggie Tacos, Tlacoyos, Huevos Divorciados, Espagueti Verde, chile rellenos, burritos, tostadas, salads and more!
- Since it’s not a melting cheese, it’s used to make Caldo De Queso Con Papas (Cheese soup & potatoes).
- With Tortilla Chips and your favorite salsa.
How to Store
Fridge:
- Keep it covered: If your queso fresco comes is store bought, transfer to a airtight container. You can also wrap it with plastic wrap. This helps prevent it from absorbing odors from other foods in the fridge.
- Store away from strong-smelling foods: Queso fresco has a delicate flavor, and it can pick up odors easily. So, try to keep it away from strong-smelling foods like onions or garlic.
- Unlike aged cheeses, queso fresco is best enjoyed when it’s fresh. So, try to use it within a few days after opening it for the best taste and texture.
FAQs
Queso fresco is made by curdling milk and then draining off the whey, which gives it a moist and crumbly texture. Yum!
Compared to many other cheeses, queso fresco is generally lower in calories, making it a good option if you’re watching your calorie intake. Since queso fresco is a fresh cheese, it doesn’t go through an aging process, which means it has fewer additives or preservatives.
Feta and queso cotija are tangy and crumbly cheeses that can be an excellent substitute for queso fresco. Also ricotta salata works as it is a salted, pressed version of ricotta cheese. It’s firm and crumbly, making it a good match for queso fresco in terms of texture and taste.
More Condiments To Try:
Try any of my delicious sauces, dips & dressings…. Always easy & delicious!
I hope you like this recipe! Share it, or leave a rating and comment below. For questions that need an answer right away, please contact me and I’ll get back to you asap. Gracias!!!! xx, Ana
Print Recipe:
Queso Fresco (Step by Step Recipe)
Ingredients
- 8.5 cups whole milk (2 liters)
- ½ cup white vinegar
- ¾ teaspoon table salt (or more to taste)
Instructions
- In a large pot, heat the milk over medium-high heat, stirring often, until a thermometer reads 170°F (90°c). (see note #1).
- Pour in the vinegar and salt. Using a wooden spoon, stir for 2 minutes to allow the milk to curdle. (The curds will appear small.) Turn off the heat and let sit for 20 minutes.
- Line the inside of a strainer with enough cheesecloth to drape over the sides of the strainer by a few inches, then place the strainer in another large pot or the sink.
- Carefully pour the cheese mixture into the prepared strainer; let sit until the liquid is mostly drained out.
- Bring the open ends of the cheesecloth together in your hands to form a bundle, then squeeze out any remaining liquid. Place the bundle back in the strainer. Continue draining if it still has some liquid.

- Remove the liquid from the bowl (or use a different bowl) and transfer the cheese to it. Crumble it and taste for salt. If it needs more, add according to taste. Mix well.
- Top tip! Line a storage container with 2 strips of parchment paper forming a cross. This will help the cheese to come out once is ready to be consumed.
- Transfer the cheese into the container and push down with the back of a spoon or your hands as you add the cheese. Remove as much air as possible to make a solid cheese shape.
- Close the container with an airtight lid and refrigerate at least 8 hours or up to overnight. The cheese will be ready to crumble or dice right away but I recommend you chill it first.

Notes
- If you don’t have a thermometer, here are a few clues what the milk will look like. At this temperature, the milk is far from boiling, but it’s definitely getting there. You might notice some steam and foam rising gently from the surface.
- Top tip! Line a storage container with 2 strips of parchment paper forming a cross. This will help the cheese to come out once is ready to be consumed.
Really nice
Thanks so much Sebastien! Glad to hear you liked it. xo, Ana
Made this today. The cheese is wonderful. I am going to cheat and put a bit on the tortillas I made yesterday with my cebollas curtidas. I was on a cooking roll.
This was such a quick and easy recipe that does not disappoint! Turned out perfectly smooth and delicious; easily, a new favorite recipe!
Thank you, Sara! always happy that you liked it.
I loved trying to make my own queso fresco! It was so much better than store bought.
Thank you, Tayler! So glad you liked making your own.
This was such a fun new recipe to try. I will definitely be doing it again.
Thank you Sisley for making this recipe. So happy you enjoy it!!
I can’t believe how simple this queso fresco is to make. Only a few ingredients and I have the perfect cheese to top all my Mexican recipes.
Yes, thank you! So happy to hear that.
What a delicious recipe, my family loved it! Thank you so much!
This queso fresco turned out so delicious and creamy just how I like it! My family devoured it so have to make it again. Thanks for the recipe!
I love queso fresco and can’t wait to make it following this easy recipe. I also love to eat it with fresh corn tortillas. yum!