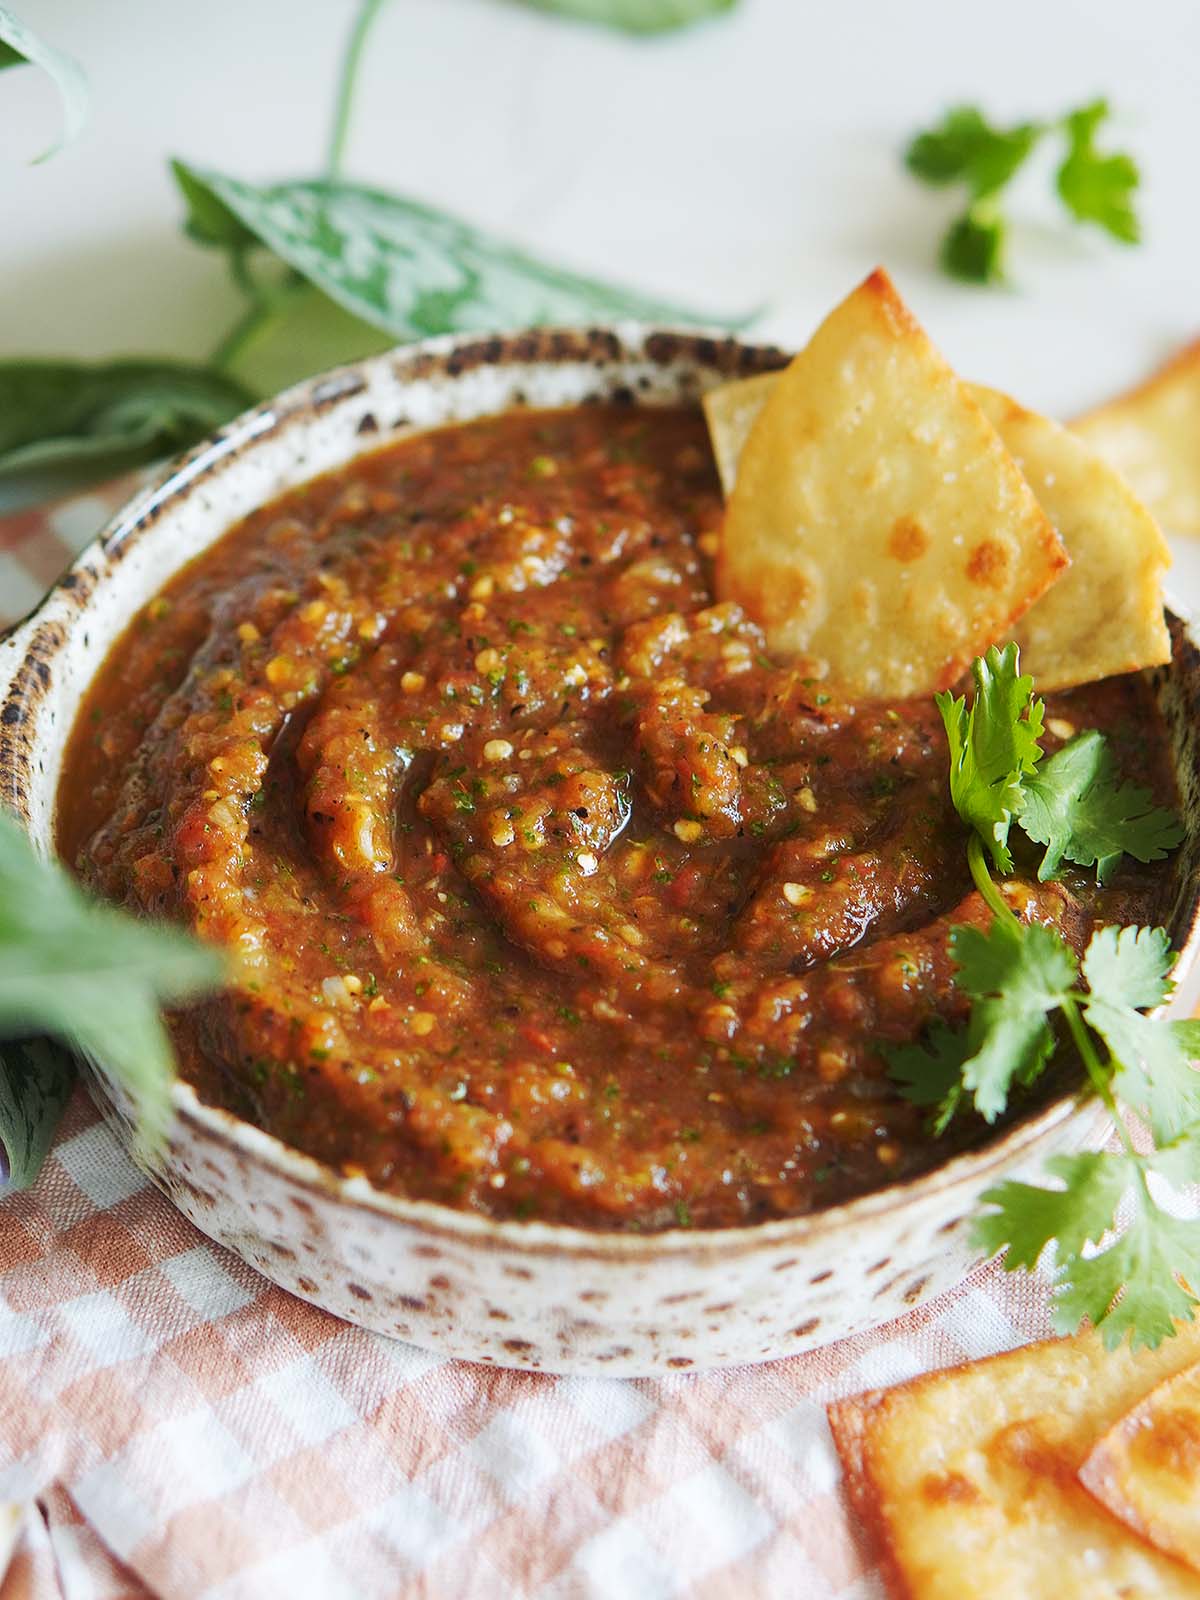
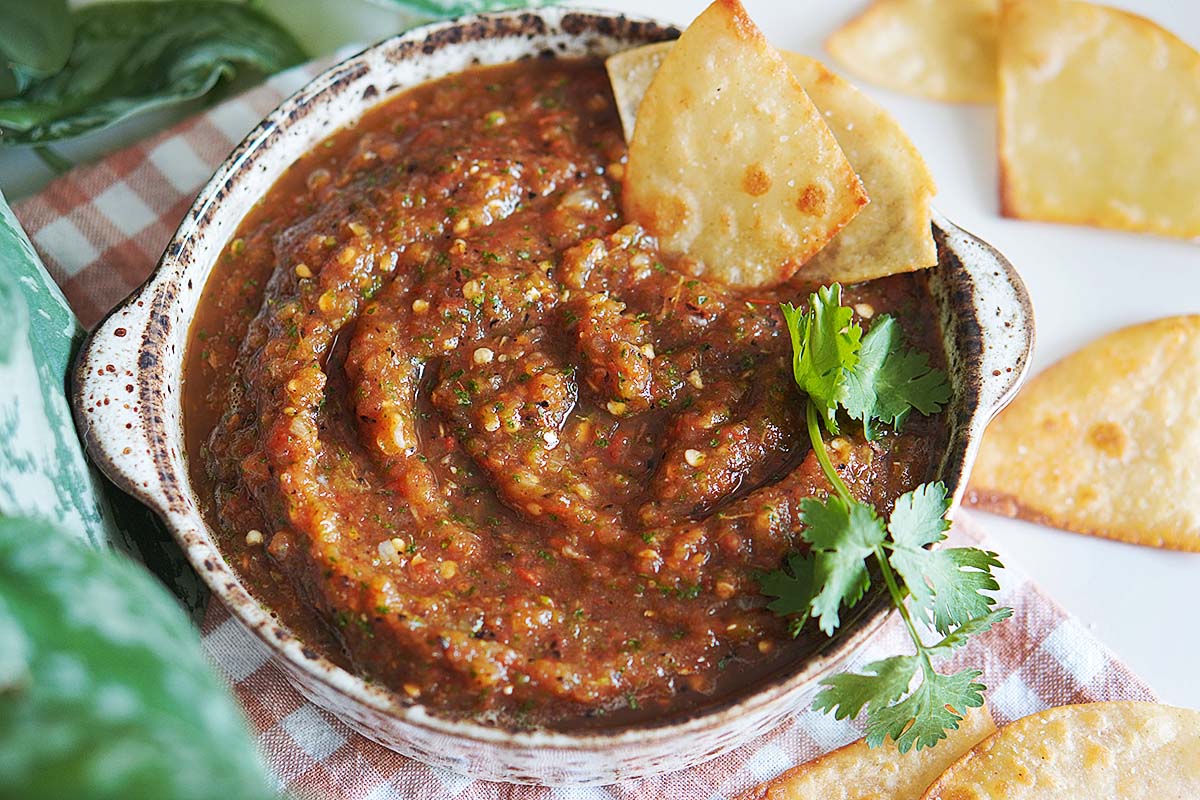
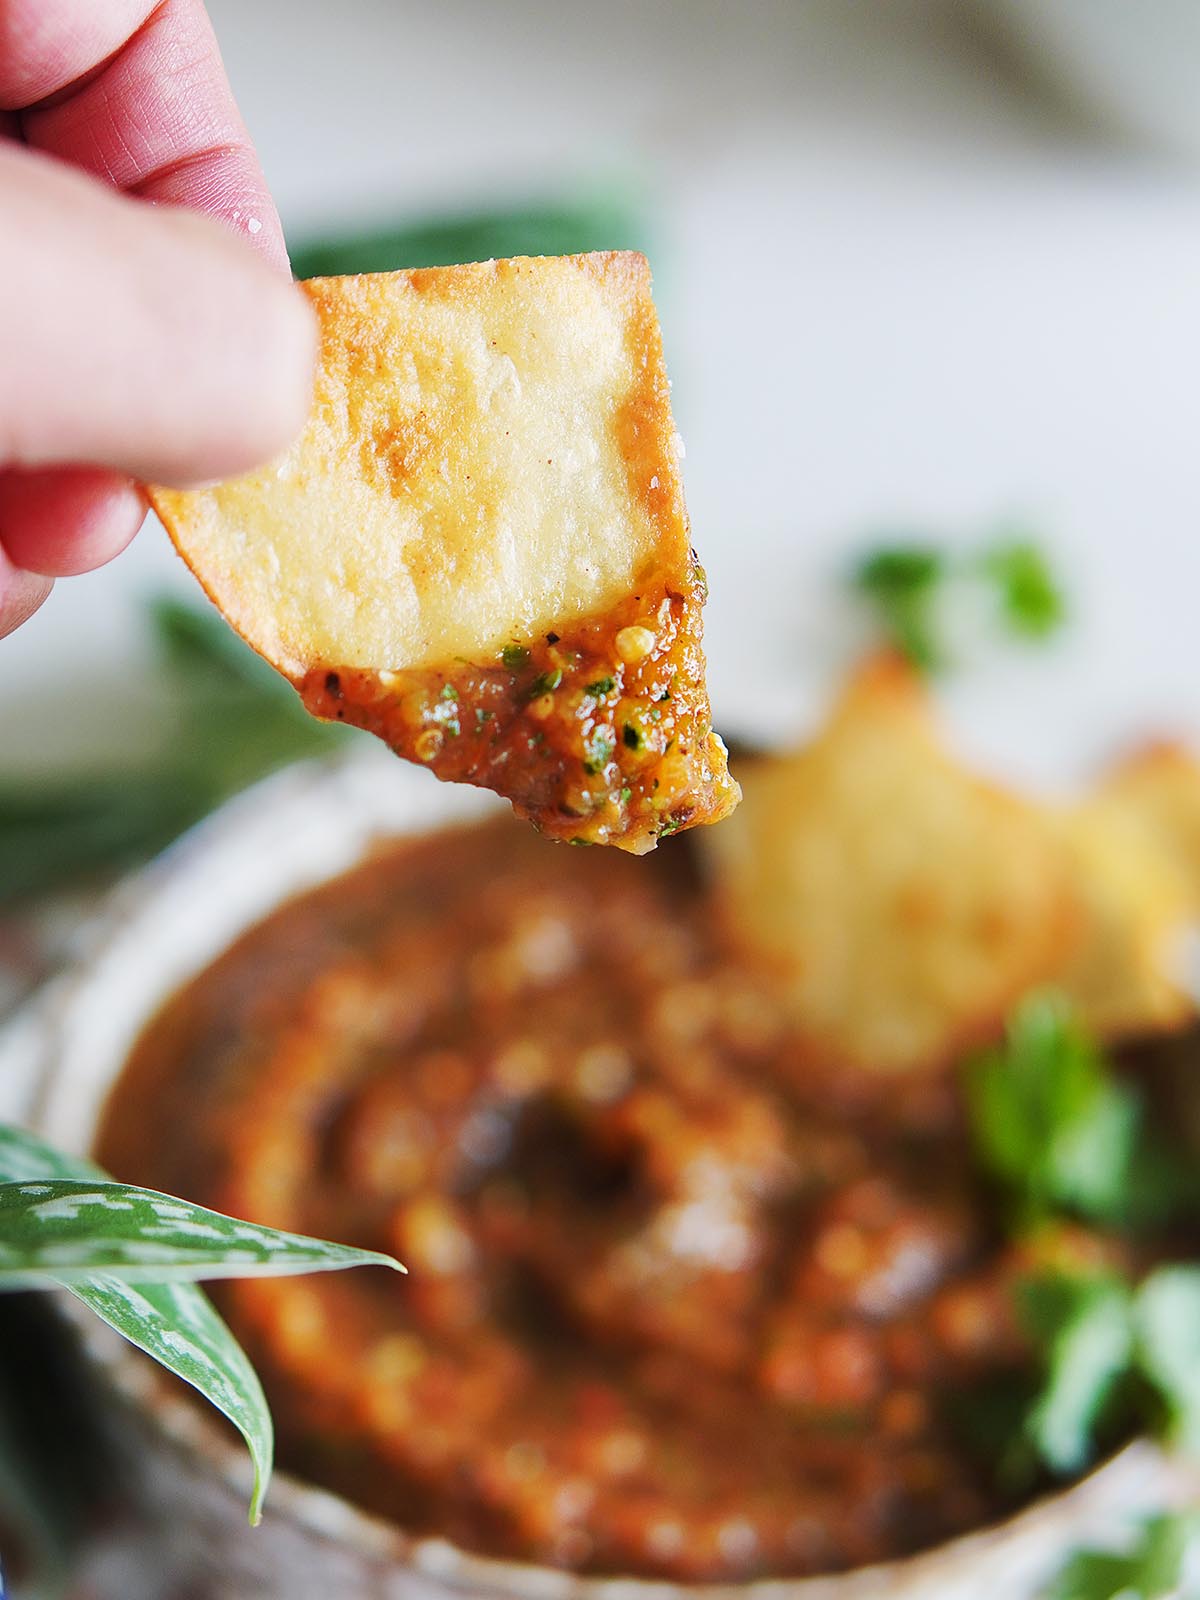
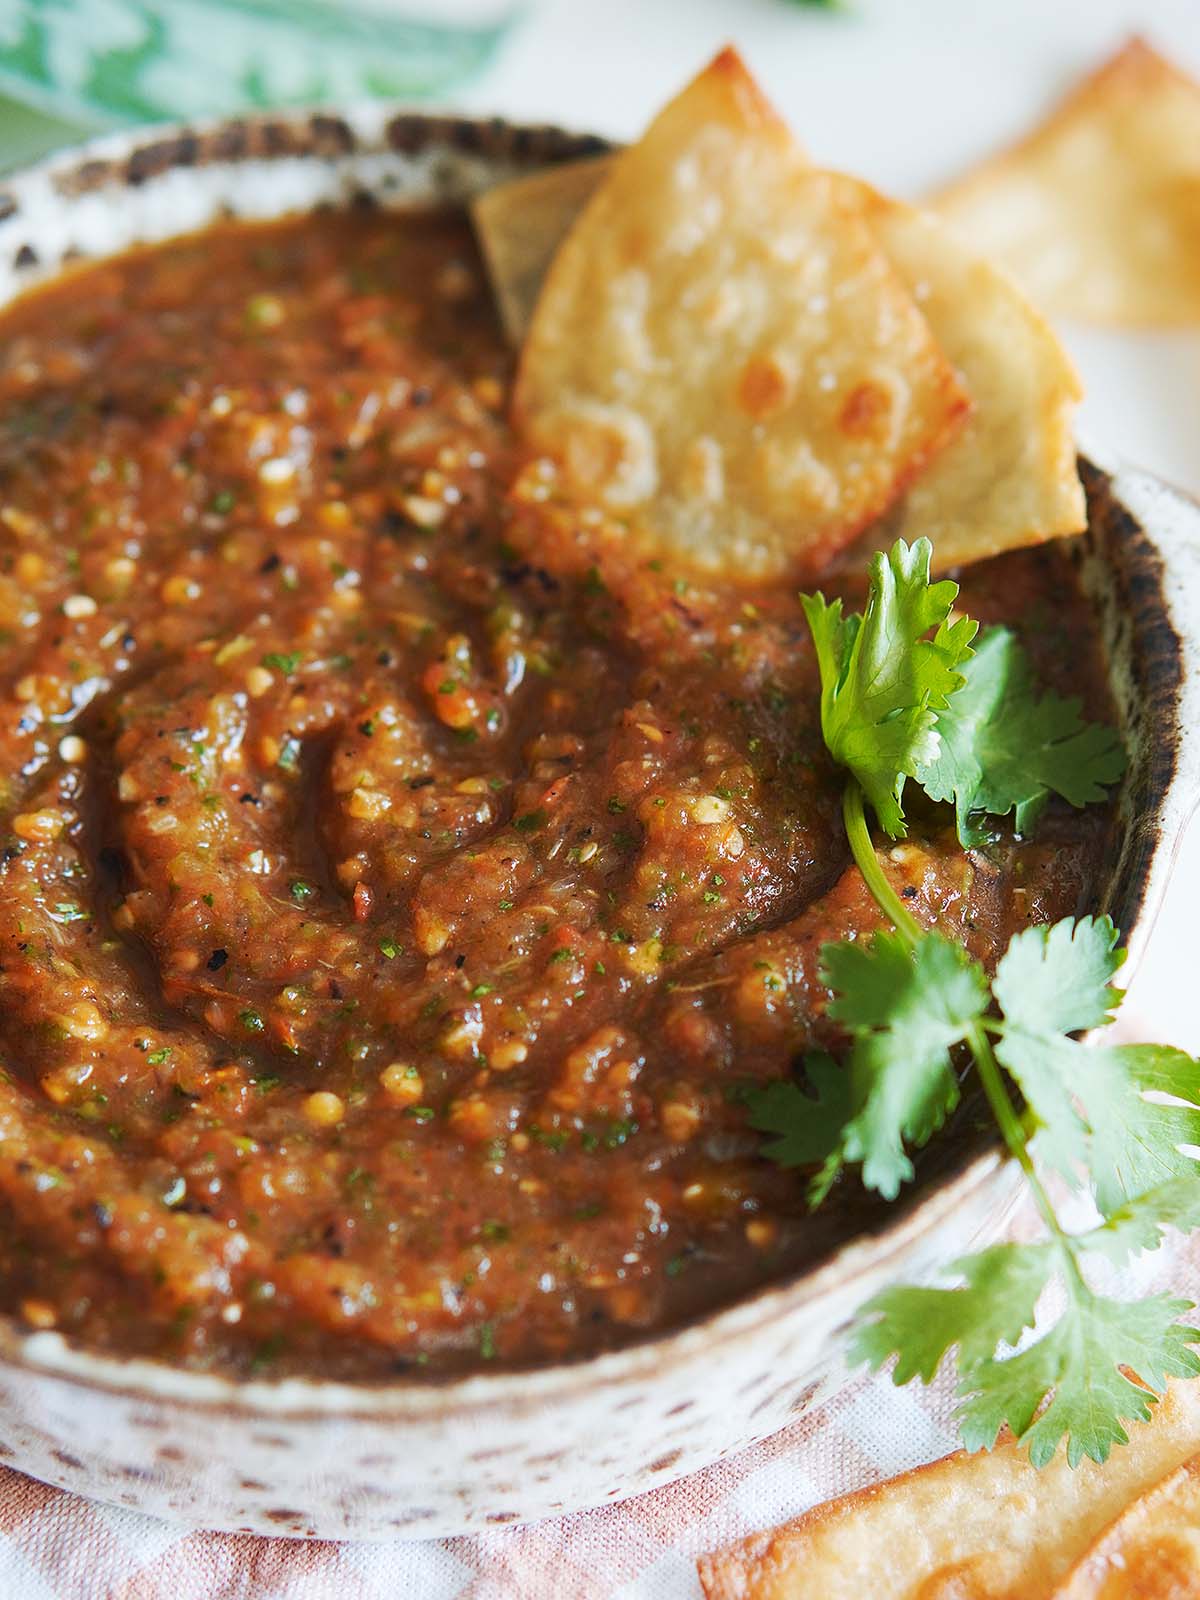
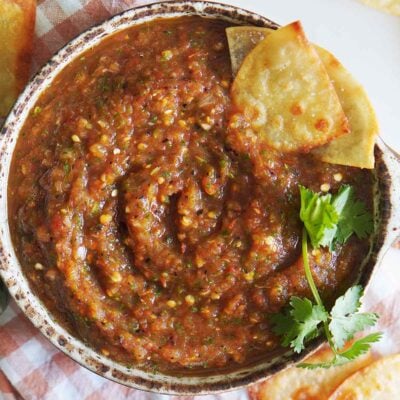
Salsa Tatemada (Fire Roasted Salsa) is the perfect blend of smoky, tangy, and spicy flavors made with fresh tomatoes, onion, jalapeños, serrano peppers, garlic and cilantro to add a vibrant flavor.
🗒️ In This Post
What tatemada mean? It simply means charred. This easy salsa owes its distinct character to the art of fire roasting which gives a deep and complex flavor profile. It’s similar to my Salsa De Molcajete (charred in the oven), but this time, we’re charring the vegetables on the grill.
When making this salsa, the charring step is the most important. You want to cook the vegetables at a scorching-hot temperature so that their skins blacken while their insides remain somewhat soft. Do this step over a high-heat wood, charcoal or gas fire.
The end results is a salsa that retains some of its biting freshness while taking on fire-cooked flavor. It is delicious on anything and everything!
Why this recipe works
- It’s very adaptable to use the chiles you have in hand.
- Easy to double and freeze some for later.
- Make it while you grill other items such as steak, chicken or pork.
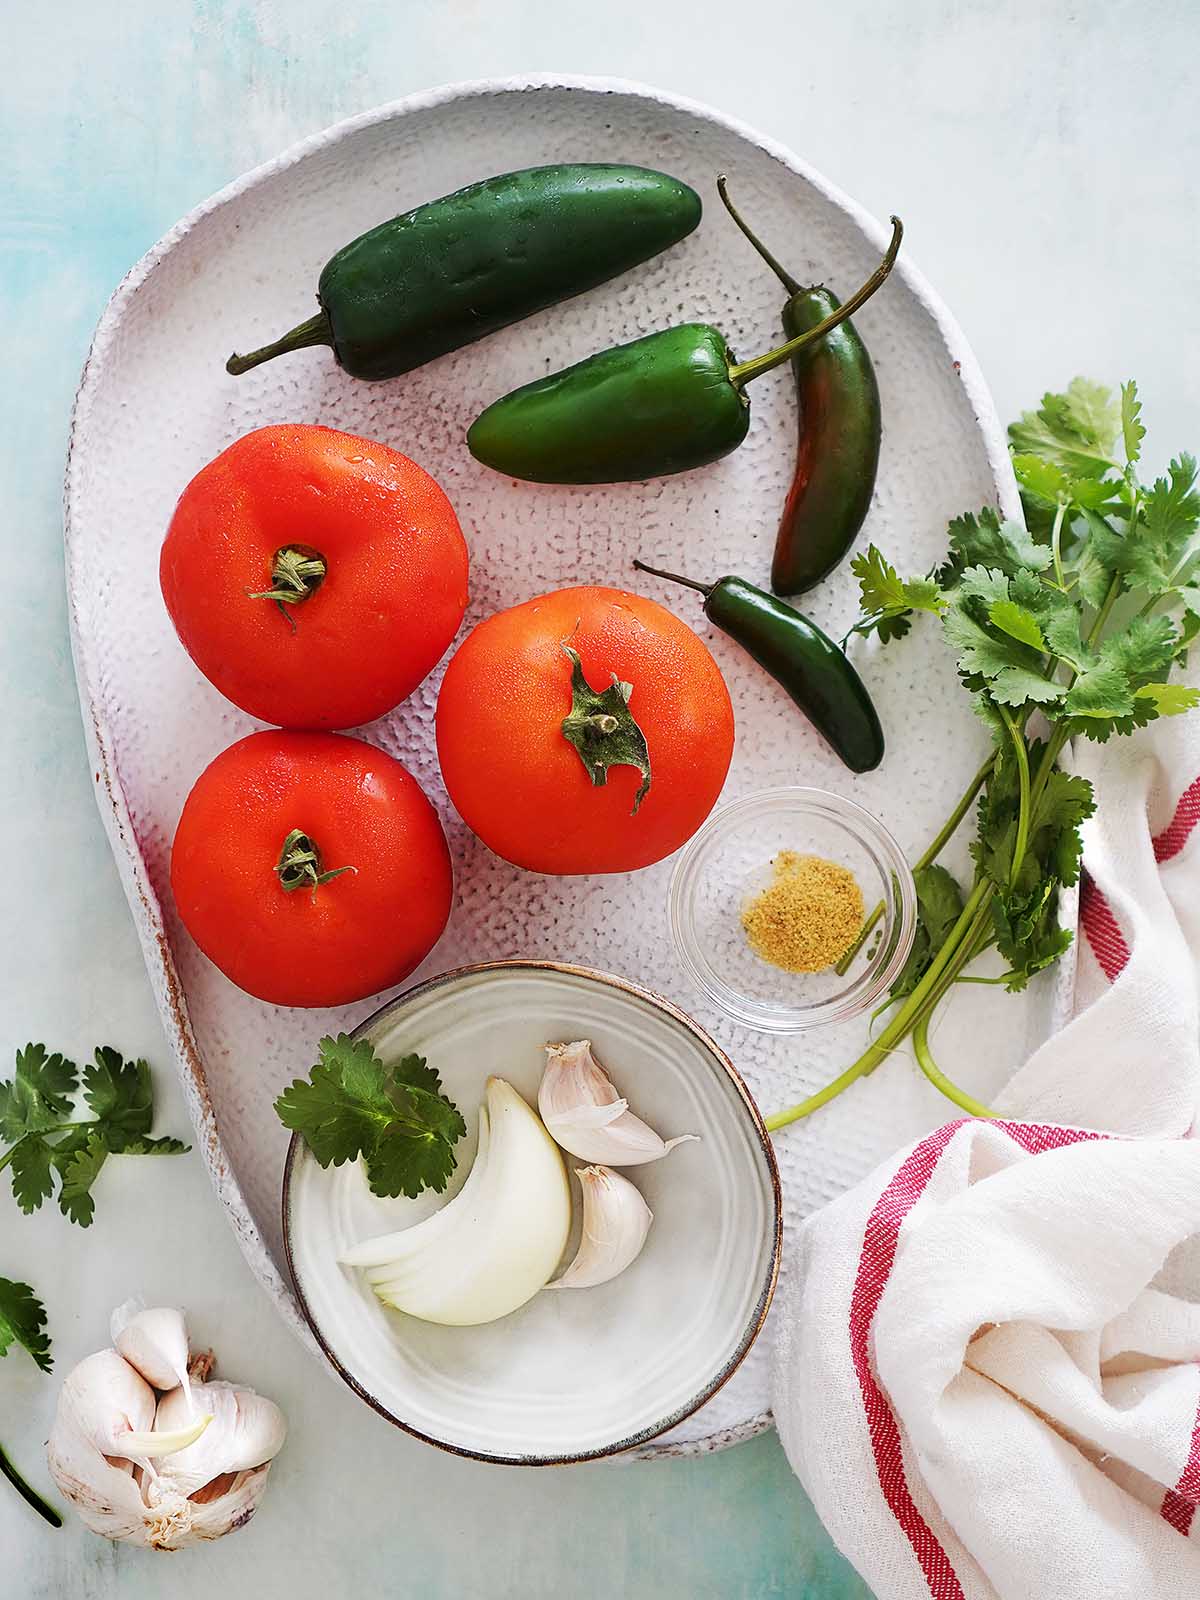
Ingredients
- Medium tomatoes – they can be roma or regular tomatoes. Just make sure they’re ripe!
- Fresh jalapeños and serrano peppers
- White onion (can be yellow onion too)
- Fresh garlic cloves
- Chicken bouillon – you can use vegetable bouillon to make a vegetarian version.
- Fresh cilantro
- Salt and pepper to taste
Variations: Add a little lime juice using fresh limes. Or you can use other peppers such as poblano peppers or anaheim.

How To Make Fire Roasted Salsa
This is a visual overview of the steps to make this recipe. See the detailed list of ingredients & instructions in the recipe card below.
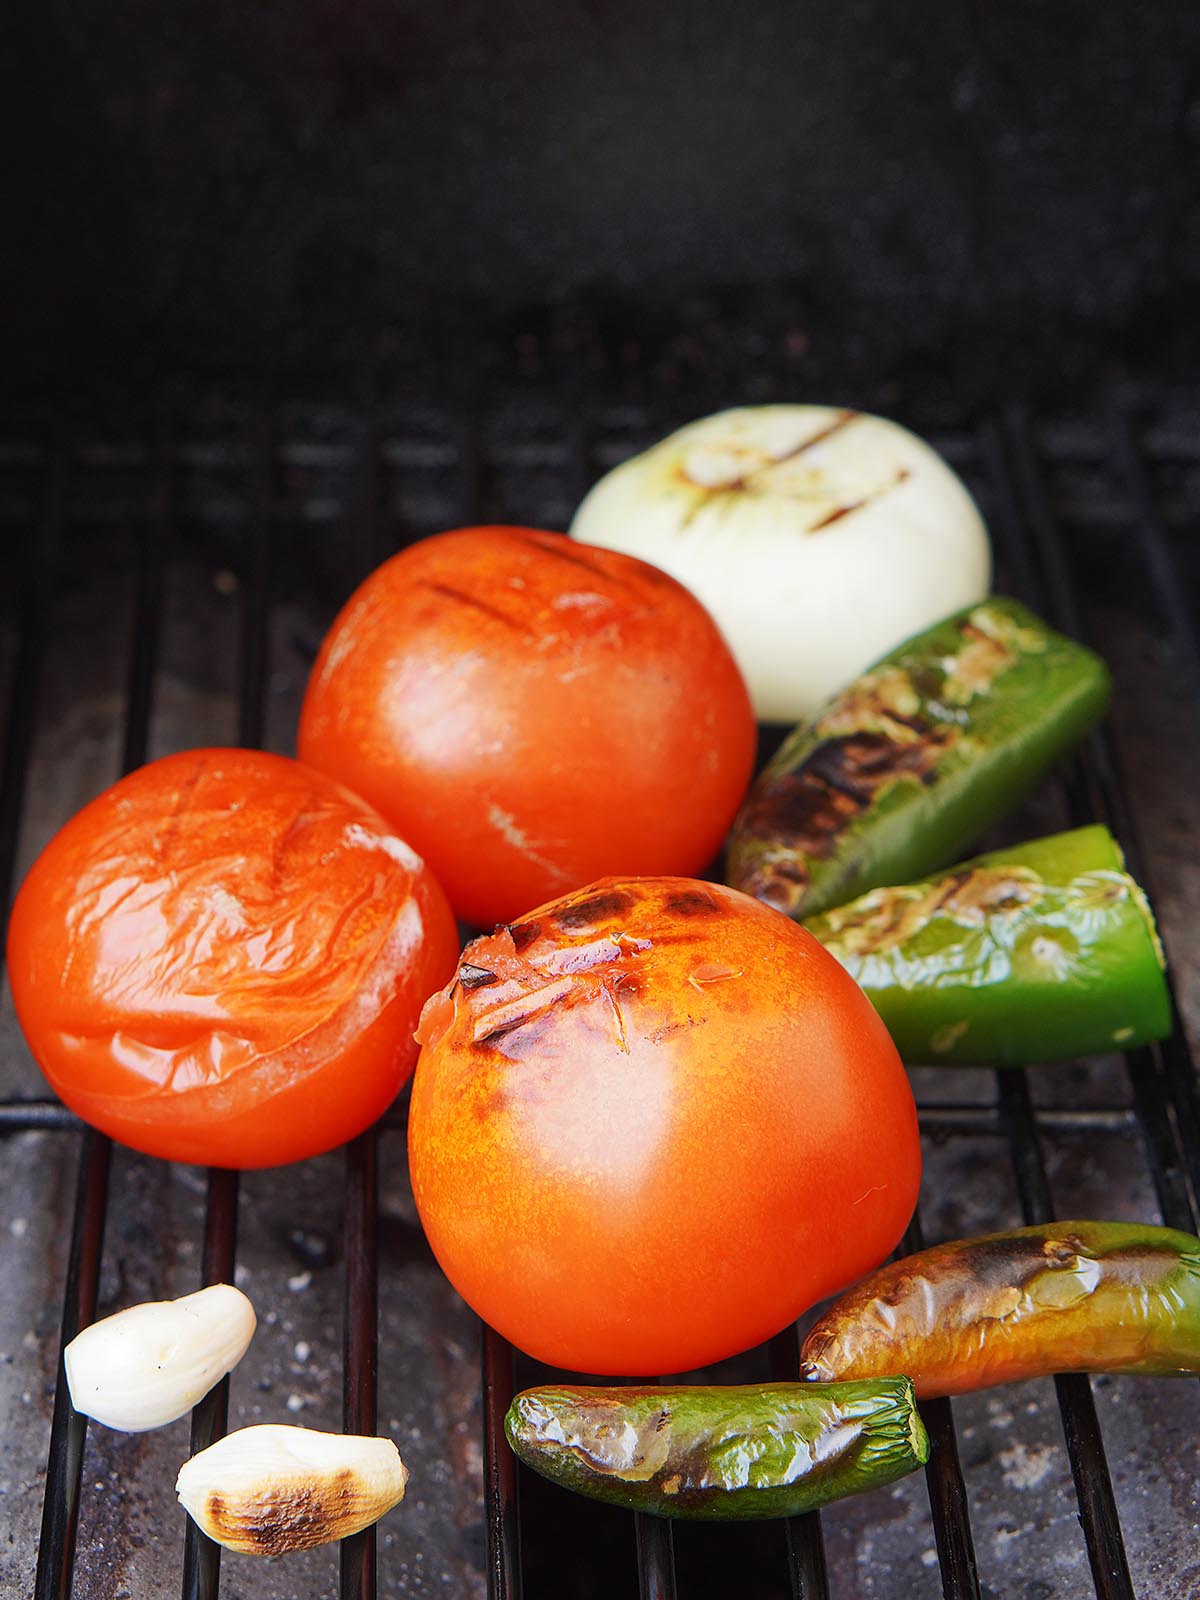
- Preheat your charcoal or gas grill.
- Place the veggies on the grill grates over the open flame. Keep an eye on them and give them a few gentle flips after a few minutes. We’re aiming for tender yet slightly crisp veggies.
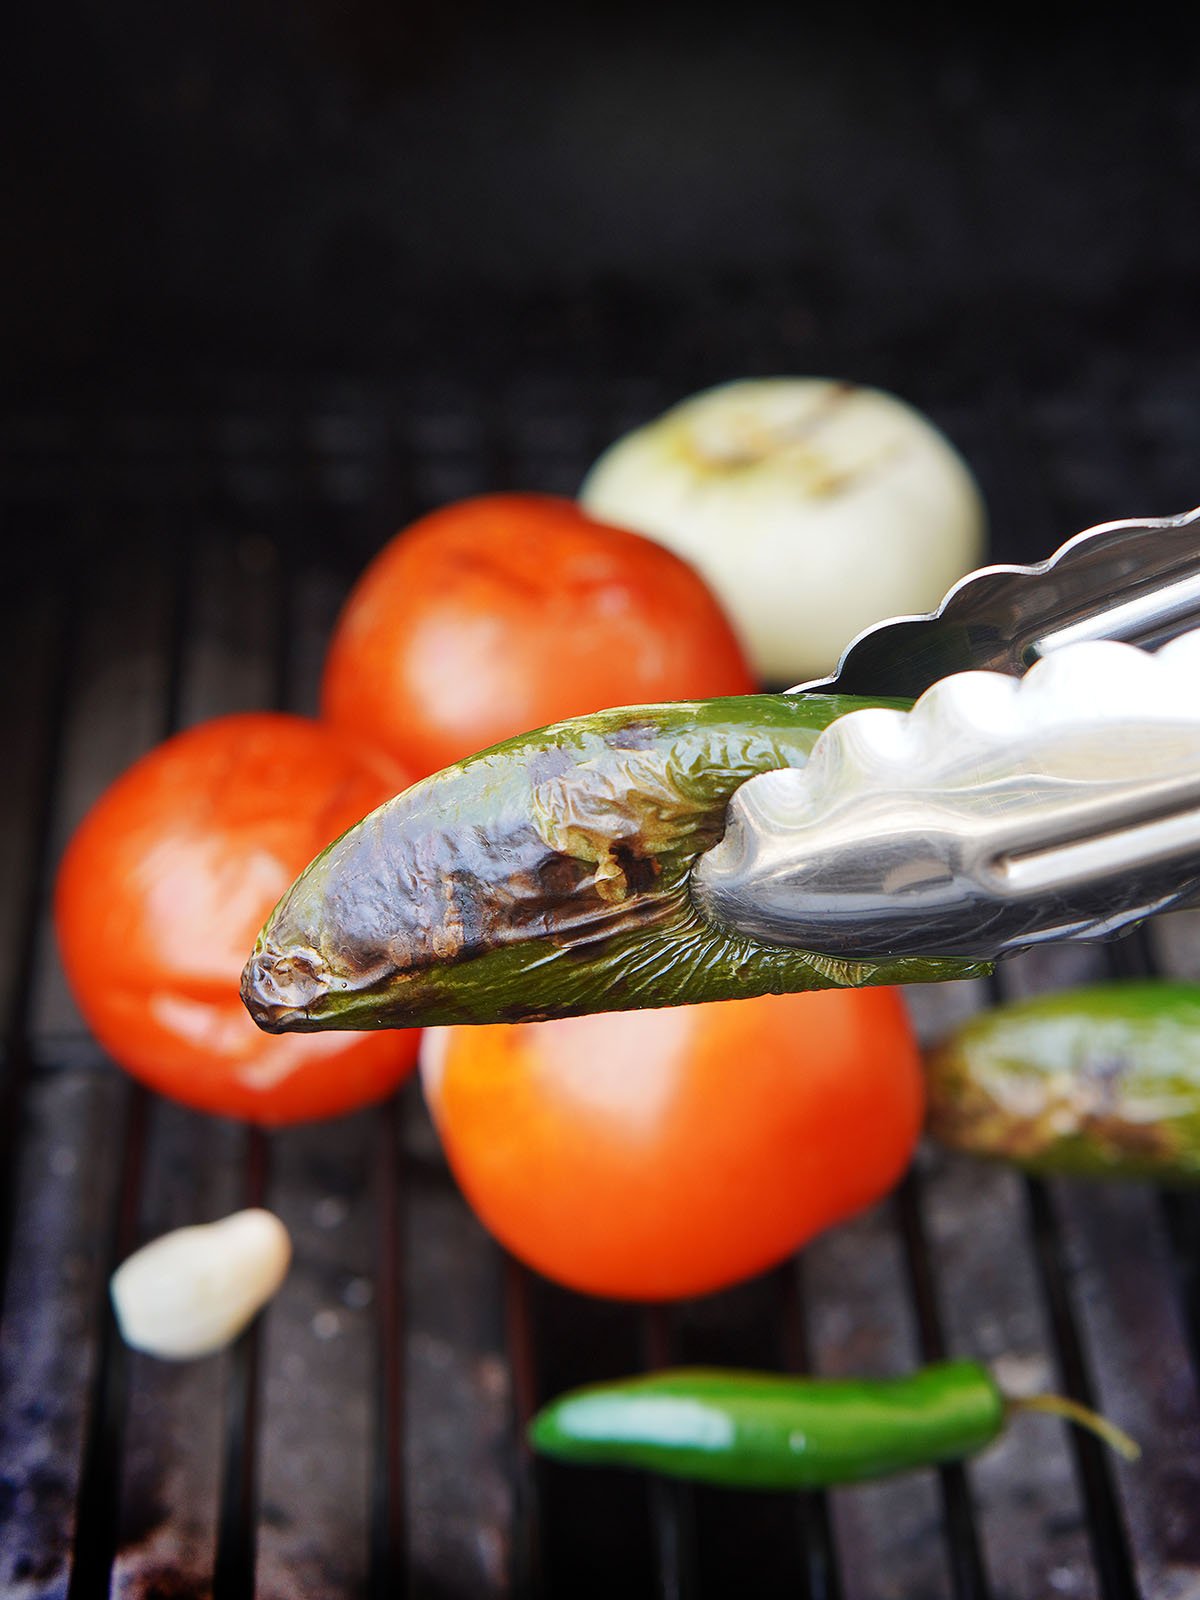
- Once they’ve got that amazing char on all sides, they’re good to go.
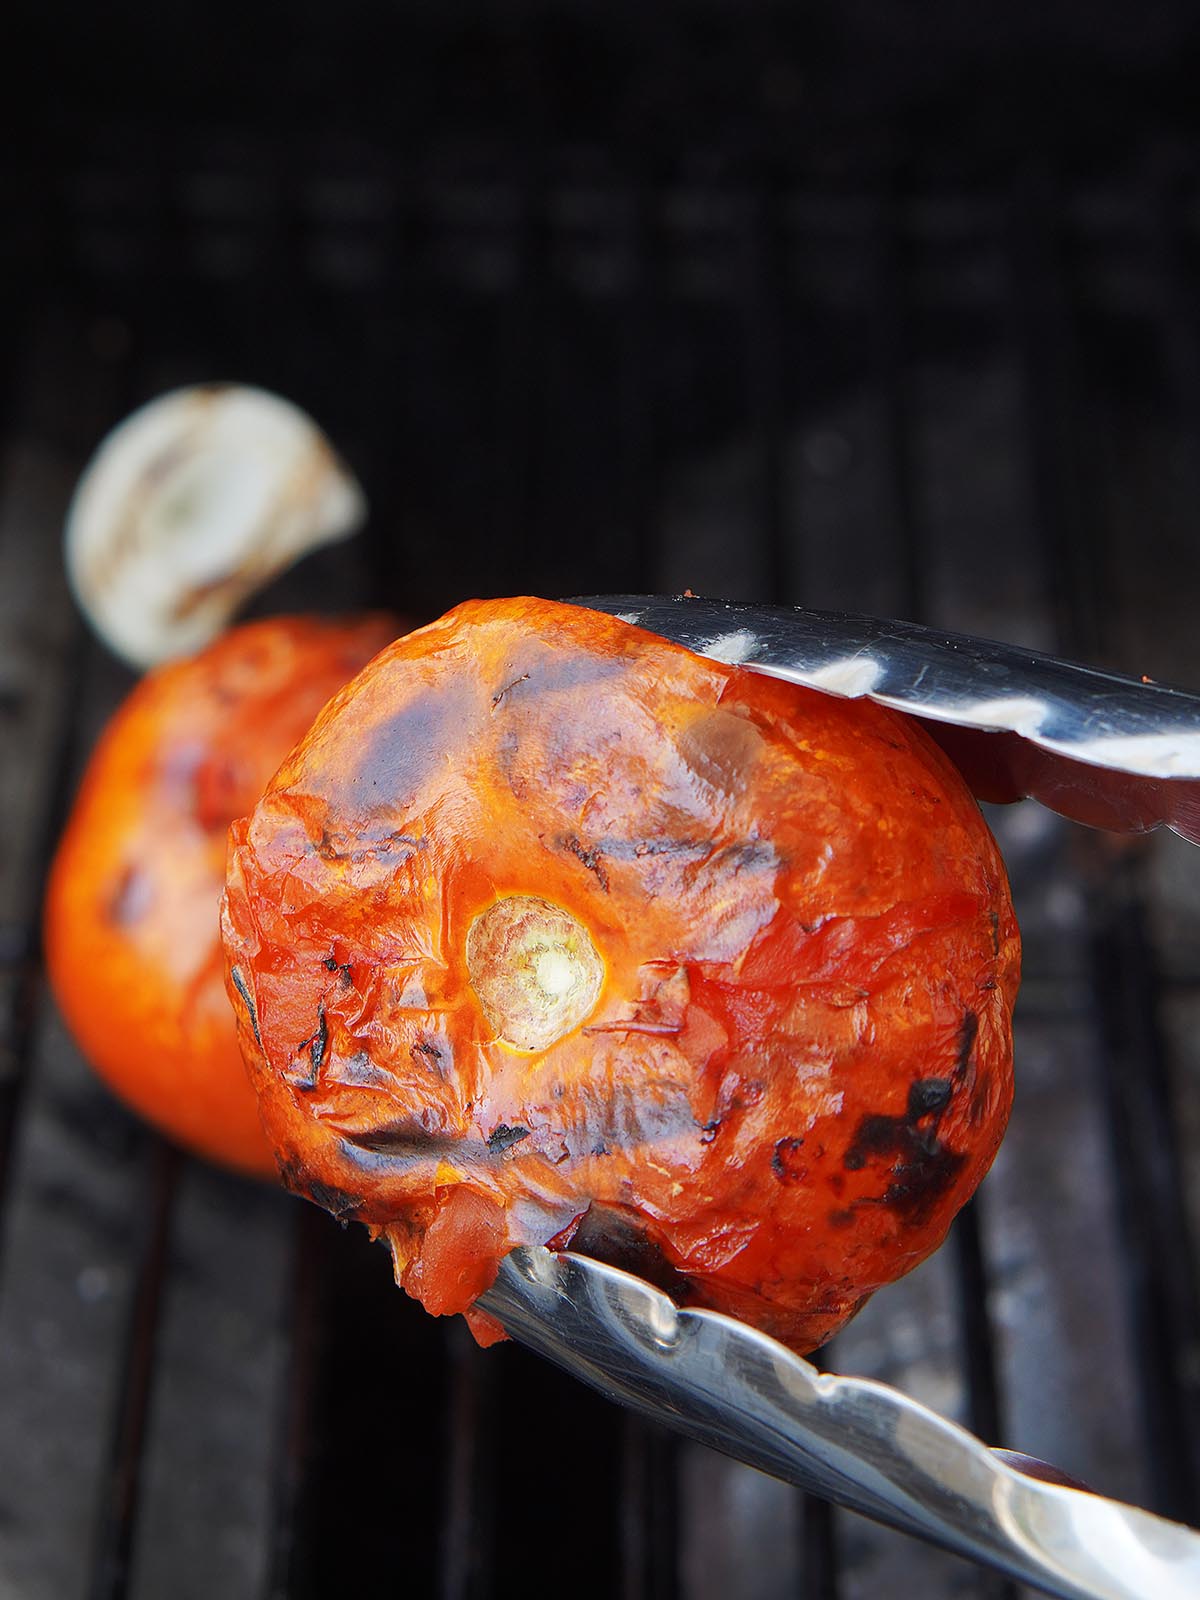
Roast tomatoes until they’re soft inside and charred all around. They may take a little longer than the rest of the veggies

- Cool the veggies for about 5 minutes prior to blending.
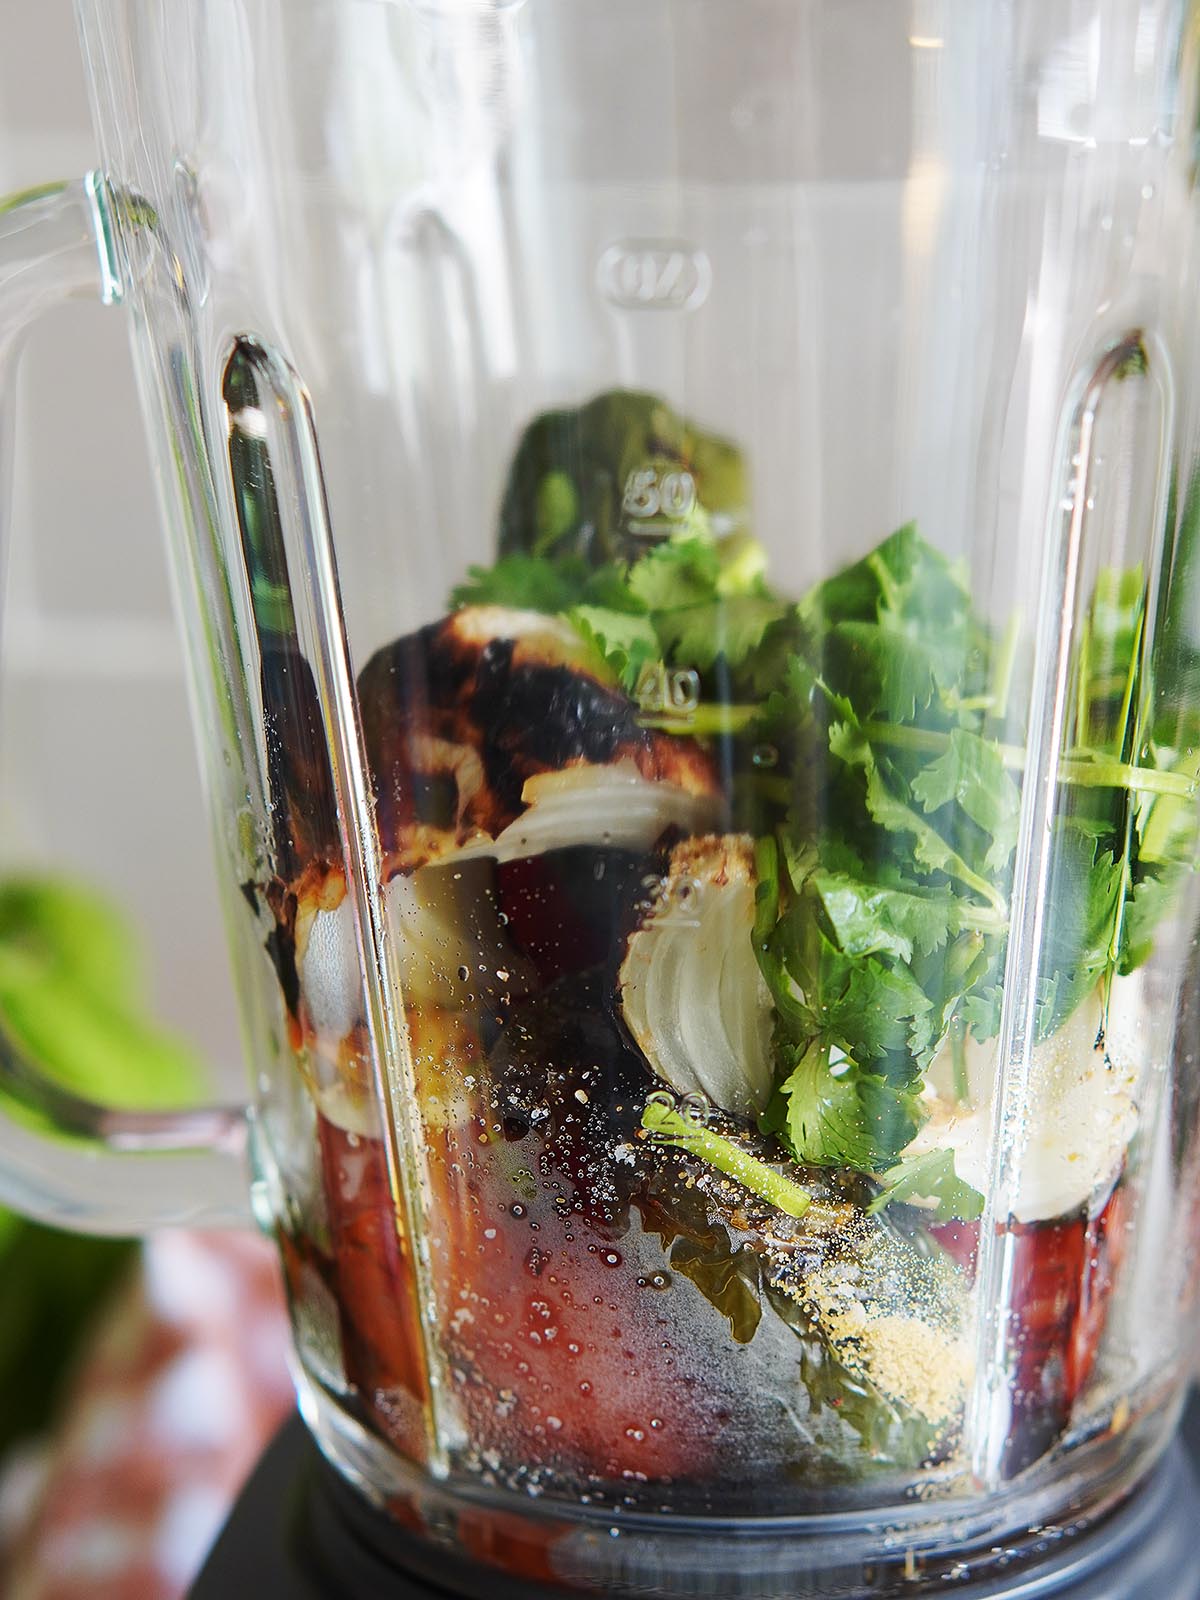
- Transfer the roasted vegetables to a blender. Add the cilantro, chicken bouillon, and puree until you reach your desired consistency.
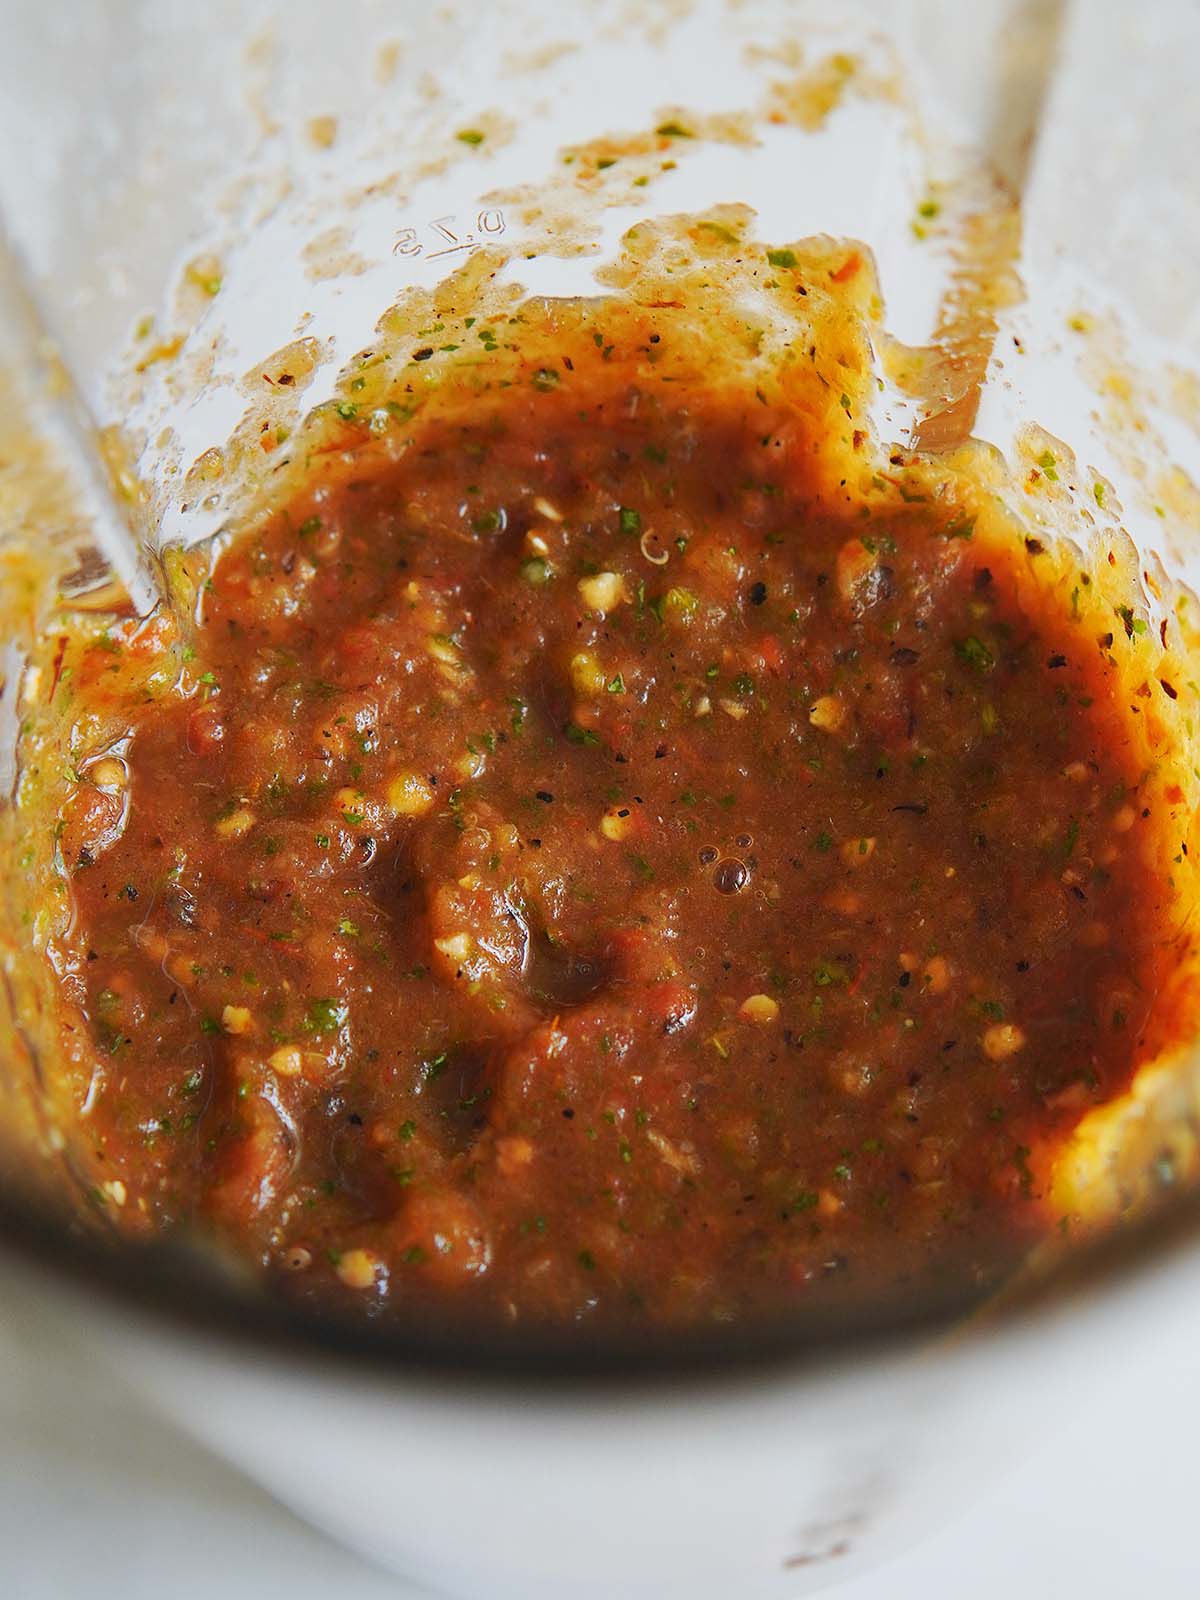
- Taste and adjust the seasoning with more salt and black pepper if needed.
- Serve immediately or transfer to an airtight container once it has cooled. The salsa will keep in the refrigerator for up to 5 days.
Tips & Notes
- Preheat the Grill: Fire up your grill to medium-high heat. You want it nice and hot before those veggies hit the grates.
- Don’t move them too much: Let your veggies cook for a few minutes on each side. Don’t be too eager to flip them—let them develop that delicious charred skin.
- Oil the Grates: If your grill has not been seasoned, use tongs and a paper towel soaked in oil to grease the grates. This helps prevent sticking and gives your veggies those coveted grill marks.
- Place with Care: Lay and flip your veggies slowly on the grill or some my fall between the grates!
- Off the Grill: Once your veggies are perfectly grilled, transfer them to a platter. They all may cook at different rates.
- Don’t rinse or peel the skin on the roasted veggies. The goal is to keep the best part: the char flavor.
Storing
- Fridge – Before, storing, make sure the salsa is at room temperature and not hot. Store in the refrigerator in a glass jar or container for up to 5 to 6 days.
- Freezer – Freeze in an airtight, freezer-safe storage container or freezer bags for up to 3 months.
- To Thaw – Let thaw overnight in the refrigerator before using.
Serving Suggestions
This homemade salsa recipe isn’t just a dip for Totopos (tortilla chips); it’s the perfect companion to various dishes. Here are some delicious serving ideas and pairings:
- Taco Tuesdays: Elevate your tacos with a generous spoonful of salsa. Tacos are all about the layers!
- Grilled Meats: Use it as a marinade or topping for grilled chicken, steak, or fish.
- On your favorite Mexican breakfast: Enjoy it with Machaca con Huevos, Breakfast Quesadillas, Huevos a la Mexicana, scrambled eggs or breakfast burritos.
- Avocado Enchantment: Spread it over sliced avocados for a quick and healthy snack.
- Burgers: Elevate your burgers with a dollop of fire roasted salsa for a gourmet touch.
- On Carne Asada: this is the perfect salsa to go with Carne Asada. It can be made as you grill your meat!
- Top your nachos, tostadas, and sopes.
FAQs
Here are some tricks that you can follow if your salsa turned out a bit too hot to handle.
* Wait a day or at least until the salsa cools down. Sometimes it tastes hotter when the temperature of the salsa is high.
* Add a touch of sweetness can counterbalance the heat: a little sugar, honey or fruits like diced mango, or pineapple works great.
* Add a little tomato sauce. The sweetness of the sauce will help neutralize the spiciness.
* If you know the peppers are hot, remove the seeds and membranes as that’s where most of the heat resides in peppers.
* Add one or two hotter varieties such as habaneros, ghost peppers, or Carolina Reapers.
* Don’t remove the seeds and membranes.
* To increase the jalapeño’s heat, use ripe, red jalapenos instead of green ones. Red jalapenos are typically spicier and bring a bold, vibrant color to your salsa.
Mexican Salsas:
Try any of my delicious salsas…. Always authentic, easy & delicious!
I hope you like this recipe! Share it, or leave a rating and comment below. For questions that need an answer right away, please contact me and I’ll get back to you asap. Gracias!!!! xx, Ana
Print Recipe:
Salsa Tatemada (Fire Roasted Salsa)
Equipment
- Food processor or blender
Ingredients
- 3 medium tomatoes
- 2 fresh jalapeños - stem removed
- 2 serrano peppers - stem removed
- ⅓ medium onion
- 2 garlic cloves
- ½ teaspoon chicken boullion
- ¼ cup fresh cilantro
- Salt and pepper to taste
Instructions
- Preheat your charcoal or gas grill.
- Place the veggies on the grill grates. Keep an eye on them and give them a few gentle flips after a few minutes. We're aiming for tender yet slightly crisp veggies.
- Once they've got tha amazing char on all sides, they're good to go.
- Transfer the roasted vegetables to a blender. Add the cilantro, chicken bouillon, and puree until smooth.
- Taste and adjust the seasoning with more salt and black pepper if needed.
- Serve immediately or transfer to an airtight container once it has cooled. The salsa will keep in the refrigerator for up to 5 days.
Notes
- Preheat the Grill: Fire up your grill to medium-high heat. You want it nice and hot before those veggies hit the grates.
- Don’t Fiddle Too Much: Let your veggies cook for a few minutes on each side. Don’t be too eager to flip them—let them develop that delicious charred skin.
- Oil the Grates: Use tongs and a paper towel soaked in oil to grease the grates. This helps prevent sticking and gives your veggies those coveted grill marks.
- Place with Care: Lay and flip your veggies slowly on the grill. Some my fall between the grates!
- Off the Grill: Once your veggies are perfectly grilled, transfer them to a platter. They all may cook at different rates.
Storing
- Fridge – Before, storing, make sure the salsa is at room temperature and not hot. Store in the refrigerator in a glass jar or container for up to 1 week.
- Freezer – Freeze in an airtight, freezer-safe storage container or freezer bags for up to 3 months.
- To Thaw – Let thaw overnight in the refrigerator before using.
Your Private Notes
Nutrition
Health Benefits
Not only is this recipe delicious, but it also has many health benefits and it’s low in calories. This salsa is rich in fiber, vitamins and minerals, including vitamin C, vitamin A, and potassium. According to Health.com, the tomatoes in the sauce are high in lycopene, which has been linked to a reduced risk of heart disease and certain types of cancer.
The chiles used in the sauce contain capsaicin, which has been shown to have anti-inflammatory and pain-relieving properties. Additionally, capsaicin has been linked to a reduced risk of obesity and improved heart health.
Just made this, and it’s absolutely delicious! Do easy to make too. Thank you for the recipe.
Ttt
So good and easy to make. My husband and I loved the spice! Even better the next day 🙂
Gorgeous pictures and this just looks and sounds so delicious! It wouldn’t last long on my table. So fresh and addicting!
This is some of the best salsa I’ve ever had! It’s very different from what I’m used to, and I can’t wait to make it again.
Spicy, smoky and so delicious! Thank you for the great salsa recipe.
This was soooo good!! Restaurant quality for sure, my whole family loved it!